Entries in stationery (16)

Monday
Nov282011

inchmark holiday cards

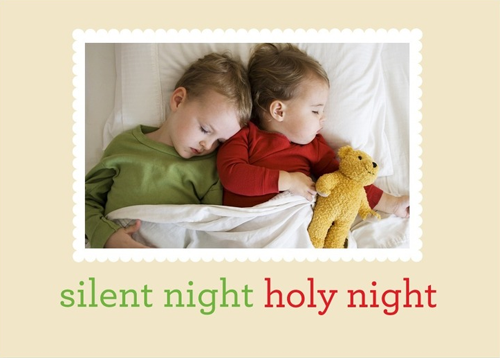
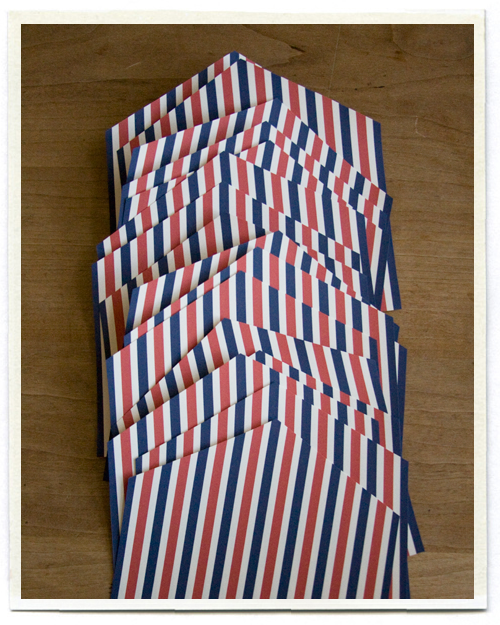
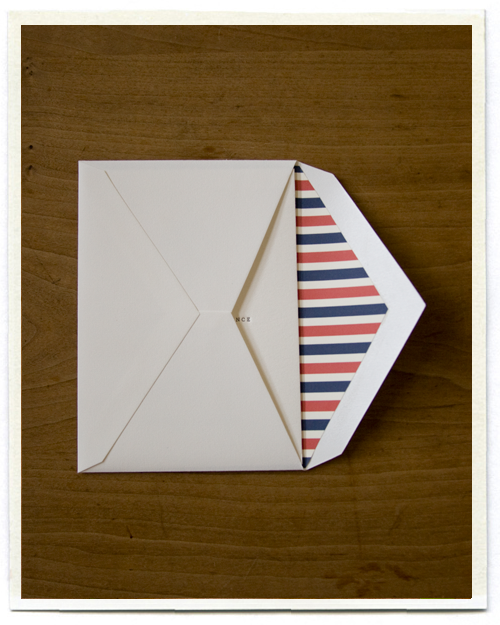
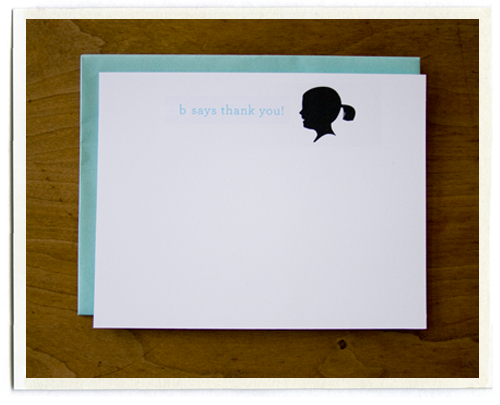
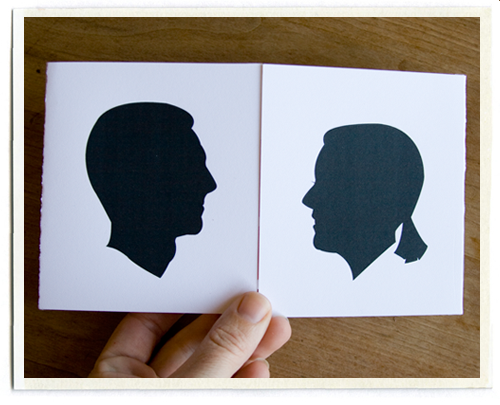
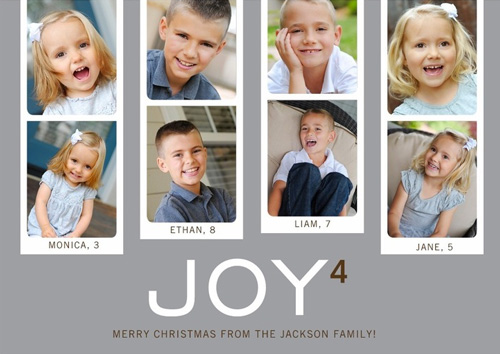
I know I'm late to the party, and you're probably one of those people who has already written, addressed, stamped, and mailed your cards off. (I aspire to be you one of these days, but alas, it hasn't happened yet!) But if you are a procrastinator like I am, I wanted to share the holiday cards I designed for Tiny Prints this year... there's still plenty of time to mail out some cards to your loved ones.

I feel pretty strongly about sending out cards. I know that they cost money, and it's just one more thing to do when you're already so busy. And in this digital age, I know you can just say "Happy Holidays" on your Facebook page and consider yourself good (though I consider that cheating). I don't write family letters (like the funny ones my dad used to write), and we don't always include a picture (sometimes that's the hardest part of getting a card together) but we send out SOMETHING each year. Some are more elaborate than others. And some years they get there a little after Christmas (whoops!). But I think my friends and family understand.

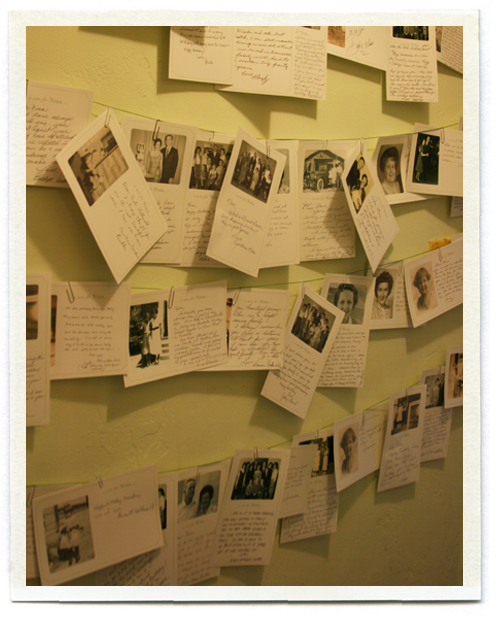
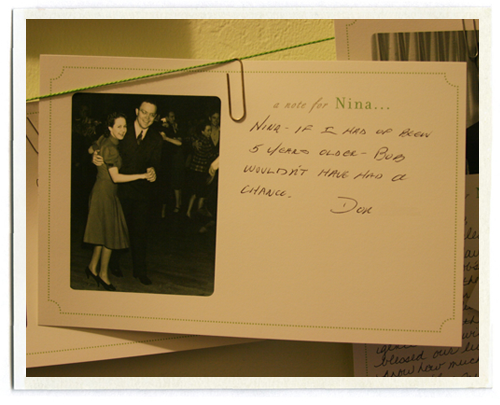
Those few weeks between Thanksgiving and Christmas are my favorite of the whole year. I love getting cards in the mail each day, I love seeing how my friends have changed and how their kids look so much like them. I love reading the sometimes cheesy letters that detail each big event of the past year. I love cards in every form: letterpressed, foil stamped, homemade, or bedazzled. I just love that someone took the time to send me a card in the mail.

Do you agree? Or do you think cards are an aniquated tradition? Are emails and digital PDFs the new way to go? What will you be sending out to your friends and family this year? I'd love to hear. 


Links to my cards on Tiny Prints:

Silent night, Holy night card

Joy (4 child option)

Christmas Tree family

Joy (3 child option)

Friday
Nov252011

a fall wedding

The leaves are finally changing here, just in time to make it feel a little bit like Fall right before Thanksgiving. Their pretty colors and shapes reminded me of my brother-in-law Justin and his darling wife Sarah's wedding, which happened two years ago this very week.

They asked me to design a simple wedding announcement, and we thought the fall leaves were a nice starting point. Three different colors of leaves with the text in a nice brown. I also printed some matching stationery for them to use as thank you cards.

Sarah was a strikingly beautiful bride. I loved her short pixie cut (she looked just like a young Mia Farrow).

It was also super windy and really COLD, and it had been snowing off and on all week. But what bride wants to wear a coat? Sarah is a dancer and naturally wore knit leg warmers.

My favorite part was instead of having traditional wedding cake, they had a tower of creme brulee. The day before the wedding the bride and groom made batch after batch. I loved how they stacked them up so it still felt like a wedding cake (though much more delicious in my opinion!).

Happy Anniversary Justin and Sarah!

Thursday
Jun162011

inchmark and tinyprints

I have some exciting news.. you can now find my designs on Tiny Prints! Mostly graduation announcements for now, but my little collection will continue to grow and change as new cards are added.

Do you remember this heart themed baby shower? The invitation inspired this baby announcement (which comes in both pink and blue).

I often get emails from readers who would like to order invitations and stationery, and I've never figured out a system that worked for me (and was worth the amount of work it took for me to design, print, cut, and mail out each individual order!). I'm thrilled to be working with Tiny Prints, so I can focus on designing, and they can do what they do best — print beautiful cards (and their customer service is awesome).

I'll keep you posted as my collection grows.. holiday cards are right around the corner!

Friday
Nov192010

a birth announcement for baby m

Since sweet Baby M arrived early, I thought a postal theme might be nice for her baby announcements. Just a little postmark with her name and birthday (I've changed some information here for privacy, including her name). I kept it simple.. letterpressed in gray, with a lined red and blue striped envelope.

My friend Sue Corral at Page Stationery printed these for me. Back when we were both art directors at Martha Stewart, Sue showed me the ropes, and then she left to do what every art director dreams of doing: starting her own stationery company. Page Stationery is now 11 years old, and Sue has perfected the art of letterpress printing. I love the nice thick card they use, so the letterpress makes a nice deep impression. (You can see their pretty holiday cards here..)

Lining envelopes always makes things feel special. I printed this striped pattern myself, but you can line an envelope with wrapping paper, colored glassine, old maps, copies of blown up photos, etc. I always use this tutorial, which uses a glue stick (I like to use a spare catalog for scrap paper, turning a page for each envelope so you don't get any glue residue on the next one).

So when is it too late to send out baby announcements? I always like to wait a few months to take a birth announcement photo. My babies tend to look like scrawny old men for the first few weeks, then get progressively cuter as they put a little chub on. Three months is my favorite age for pictures... you can get them to smile on cue, yet they still have that sweet new baby feel. I got these announcements out the door when Baby M was 4 months old, and they are mostly sent to friends and family who live far away and have not seen her, so I'm calling it good.

Now on to the Christmas cards!

Friday
Mar262010

silo day 5

Silhouettes lend themselves beautifully to all kinds of paper goods. I love making them into personalized cards. I prefer to leave the silhouettes in black, and use some color for the type. A colored envelope is a nice touch. I'm a big fan of thank you notes, and personalized ones with Bee's silhouette were perfect for Bee's birthday party.

A family of silhouettes makes a nice notecard. I'm hoping to send a set of these to my brothers and sisters when their birthdays come around. (Get ready, little brother!)

A cute anniversary card can be made by printing two silhouettes on a gatefold card. This one opens up to a heart that says "Happy Anniversary!"

Wednesday
Mar242010

silo day 3

It's nice to see a whole family in silhouettes. I love seeing how dad's chin got passed on to little Johnny or how mom has the same profile as each of her daughters. We actually used silhouettes for our own holiday cards three years ago, which you can see above.

Last Christmas I made a card for a friend showing her family (the parents and their four children). I love how the personality of each child comes out in their silhouette. I was inspired by a piece of artwork which I saw in the article Martha Stewart Living ran about stylist Rebecca Robertson's home which shows mom + dad = child. (Rebecca was a stylist when I was an art director at Martha Stewart, and she is as lovely as she seems).

As a gift to my little sister for Christmas, I made a print of her little family and framed it in a simple black wooden frame. (I love these ones, and they are on sale right now!)

Monday
Mar222010

silo week

Thank you for all your sweet congratulations on our recent news. We used a family tree made of silhouettes to announce we were pregnant, so now that I have silhouettes drawn for everyone in my family, I've found they come in handy for lots of things. So I've decided this week should be "Silo Week" and each day I'll be sharing something new I've made with the silhouettes.

Today I'll share the valentines I made this year for my husband (above) and my kids (below is my son C). Draw or print the letter "I" (the font I used is American Typewriter) and a big red heart, and then add a silhouette.

Many of you have asked how I made my silhouettes, and I used Adobe Illustrator to draw mine. The first step is to take side profile shots of the people in your family. I did this when we were all gathered together last summer during a family reunion. A few tips:

-Pick a simple background, like a light colored wall, and have each person stand sideways, looking straight ahead. Babies can be held up (it helps to have someone they can stare at a few feet in front of them).

-Watch for shadows. I prefer shooting silos outside, in a shady spot so you don't get harsh shadows which make the shape of the head hard to see.

-Have girls put their hair up. Ponytails, pigtails, buns, etc. all make for a more interesting silhouette than long hair. Include as much of the texture of the hair as you see fit. (Sometimes I simplify the shape of a ponytail or a bun when I'm drawing it so it's a bit more polished.)

-Have your subject smile. You can see the expression more than you might think, and smiling silhouettes are better than sad, moping ones.

-Include the top of the shoulders. It's nice to see the shape of a collar, or the neckline of a t-shirt. I often use the neckline to draw a nice curving bottom to the silhouette rather than just cutting the neck off in a straight line.

-Add an eyelash where it's appropriate. Eyelashes usually do not naturally extend beyond someone's nose so technically you shouldn't see them in a silhouette, but I think it's nice to see where the eye falls and it helps to add in a little eyelash.

Here is the side shot I did of my nephew, and the resulting silo.

I realize that not everyone has access to Illustrator or other vector based drawing programs. Here's a good tutorial from the talented folks at Three Potato Four where you trace a photo using tracing paper and then cut your silhouette out of paper.

Stay tuned this week for a new silhouette posting each day!

Monday
Mar082010

hello wedding

Last year I mentioned going on a photo shoot for a lovely wedding in Northern California. Nine months later, it is finally featured in the Spring 2010 issue of Martha Stewart Weddings. I was pleasantly suprised to see that it also landed on the cover!

The wedding was for Hello! Lucky stationery creative director Eunice Moyle, and it was ridiculously beautiful and a bit quirky and seriously fun. One of my favorite elements was the stationery, from the invitations themselves to the labels on the jelly jar favors, every piece was beautiful... and that pepper jelly, amazingly good on biscuits. Eunice also designed a set of playing cards with the motifs from the wedding, such a nice keepsake for each of the lucky guests. You can see more of the stationery suite here. (We had to wake up at 5 AM in order to get this shot of the stationery in the clover before the sun came up over the mountain... but I think it was worth it.)

Eunice and her sister Sabrina were so calm, great examples of grace under pressure. And I loved meeting their sweet father, who I chatted with between shots. He told me how he always read to the girls every night when they were little. "And not kid books either.. real books like Treasure Island." It was after speaking to him that I started reading more chapter books to my kids each night, instead of only picture books. Great advice!

Congrats to Eunice and Daniel..

Wednesday
Feb172010

bee turns four!

Our little girl turned four a few weeks ago and we wanted to throw a party to celebrate! Bee decided all on her own that she wanted a "flower party", and I quickly remembered this story we did at Martha Stewart Kids about making flowers out of tissue.

Pretty soon we had enough flowers to deliver to Bee's little playgroup and preschool friends, with a paper leaf that told them everything they needed to know. Instead of mailing these, I like going door to door with the kids and having them deliver their invitations themselves. Bee had a lot of fun running around with her paper bouquet.

Party details to follow.

Tuesday
Jan262010

nina is ninety

This is my grandmother, and this is my favorite photo of her. It also happens to be the photo she gave my grandfather when they were dating. "To Bob: With all my love, Nina"  He liked it too. They were married for over 60 years. My grandfather passed away five years ago, but grandma is still chugging along.

My aunts decided to throw grandma a big party for her 90th birthday. We sent out save the dates, using another favorite photo of mine, back when she was a young mother of three. Somehow she still managed to look amazing (I'm loving the dress, the necklace, the hair.. so beautiful, my grandmother).

The invites featured three different photos of grandma, when she was a young girl with her pixie cut, when she was in high school, and on her 25th wedding anniversary (still gorgeous, and that was while raising 10 children!).

We decorated with more old photos, with paper circles in different sizes and shades of green. Just punch a hole in each side and thread onto some embroidery thread.

Instead of a guest book, we printed out cards with different photos from grandma's life.. (there are so many beautiful old photos of my grandma, this seemed like a nice way to showcase them). As people came to the door we asked them to take a minute and write a quick note to Nina.

And then we hung them from green embroidery thread with paper clips. It was fun to watch the wall grow as the party went on and to see all the photos there together... a life in pictures. We'll make these into an album after the party so grandma can read through them whenever she likes.

My favorite note, from a boy who grew up with my grandmother. "Nina - If I had been five years older, Bob wouldn't have had a chance." (Bob, of course, is my grandfather. And yes Don, I'm afraid you missed out!)