Entries in to make (61)

Thursday
Feb142013

fabric hearts

Is it really Valentine's Day already?! I had high hopes of showing these earlier in the month so you would actually have time to use them, but I'm afraid the 14th snuck up on me! After making the fabric heart bookmarks, I had a few other ideas for our fabric hearts. (If you're going to purchase a heart punch, you might as well figure out ways to use it.) I made some fabric heart tags, using the same method as the bookmarks. You can download the template here, which prints five to a page. 

My kids always want to give boxes of sweethearts to their classmates, but I like to upgrade the packaging. These bands fit perfectly around a box of sweethearts (currently 3 for $1 at my grocery store). And because the back of the heart isn't shown, there's no need to back the paper like you would in a tag or bookmark (see my directions here). After printing the template onto cardstock, you just tape the fabric square behind the heart cutout and wrap the band around the box. You can download the template here (it prints three bands to a page). The red dashed lines can be scored for easier folding.

Happy Valentine's Day! May you be surrounded by the ones you love!

Wednesday
Feb062013

valentine bookmarks

We just received the dreaded email from Bee's teacher: "Please no candy or edible treats with valentines this year." WHAT? What's a valentine without some candy, especially to a group of 6 and 7 year olds? So we scrambled to think of something the kids will actually use (rather than buying cheap plastic party favors or going the uninspired sticker or pencil route).

Remembering these escort cards and holiday tags, we rounded up some red and white fabric and started making valentine bookmarks. To get started you'll need: white cardstock, an x-acto knife and ruler, a bone folder, a cutting mat, a 1.5" heart craft punch, a glue stick and some fabric scraps (cut to roughly 2" x 2").

First you'll need to print out the template on white or cream cardstock. I use an x-acto knife and a metal ruler, being careful not to cut all the way through the ends of the paper so my template stays together while I am cutting. It also helps to run a bone folder over the line where the bookmark folds (marked with a red dashed line on your template). This will help the card fold smoothly, so you won't have a jagged edge.

Use your heart punch to punch out the heart on the bookmark. If you don't have the right sized punch, you can try cutting the heart with a sharp x-acto knife.

Glue the fabric scrap to the inside of the bookmark, placing it so it will show through the cutout heart when the bookmark is folded. Then apply glue to the entire left side of the bookmark (the side with the heart cutout) especially along the edges and around the heart. Fold your bookmark carefully in half.

Use a bone folder to smooth out the glue and make sure every part of the heart is thoroughly glued down. Pay special attention to the edges. You can use all kinds of fabric, but since such a small amount of fabric shows through the heart, those with a small repeat work best.

For a nice finishing touch, round the edges of the bookmarks with a corner rounder.

I've got a few other ideas up my sleeve for these fabric hearts.. Stay tuned!

Saturday
Jan262013

10!

A few months back JR and I celebrated our tenth wedding anniversary (10!). Inspired by a card I saw in Martha Stewart Living last February which had several envelopes glued together to make one long card, I made a folded card for JR with an envelope for each year we've been married. 

Inside each envelope was a card that shared my favorite memory from that year, and a photo that went with the memory. (In 2010, it was the birth of our little girl Em, so the picture was of our older two children holding baby Em on the day she came home from the hospital).

The front flap of each envelope was taped to the back of the year in front of it (for example, the flap of 2010 was taped to the back of 2009). I taped the sides of the flap and also the bottom of the flap as seen above. Note that you need to use sticky tape so that the card holds together, I used washi tape in my first attempt and it fell apart when I folded my card up. You can also glue the flap instead if you don't want to see any tape between the envelopes.

Then fold up your card accordian style, tie with a string, and add a little tag. Perhaps my favorite part of making this card was going back through all our old photos and finding a picture for each year. Watching our little family grow from a young married couple, to working newlyweds, to parents of one tiny baby... then two, then three, and now four beautiful kids. It's a little like seeing your life on fast forward and reminded me how happy I am to spend my time with these special people.

Here is a template you can use for the cards. Cards print 4 to a page and fit in size A2 envelopes (I like the ones from Paper Source because they come in such lovely colors). I only went back to 1991, since due to the work involved, this card is probably best for couples who have been together less than 20 years! 

I think this same idea could also make a thoughtful, non-cheesy Valentine's Day card. Maybe I should make a red or heart version?

Tuesday
Jan152013

valentines past

Now that Christmas is over, I know you're losing sleep fretting about what to do for valentines this year. I find it hard to think of something the kids can actually help make, that doesn't take oodles of time (we've got 30+ kids in a class here!), and won't cost me an arm and a leg. I'm here to help with a collection of my favorite valentines I've made with my kids in years past.


For your son who wouldn't be caught dead passing out anything pink: STAR WARS VALENTINES 


For your daughter whose teacher has outlawed candy or anything delicious: I'M A FAN VALENTINES


For your son who thinks two pieces of candy are better than one: MR. HEART VALENTINES


For your daughter who wants to write a few special notes to her nearest and dearest: HEART CLOSURE VALENTINES


For your son who wants to make something special for each kid in his class: PORTRAIT VALENTINES


For your daughter who prefers notebooks to candy: PERSONALIZED NOTEPAD VALENTINES


And last, but not least, the ever popular: MATCHBOX VALENTINES

 Happy valentine crafting! We're off to create something new for 2013..

Monday
Jun042012

father's day

Bee had her last day of kindergarten today, so I am feeling particularly nostalgic. Yesterday I went into her classroom for the last time for a little graduation ceremony and to help the kids make Father's Day cards. We repurposed the Mother's Day cards we made with her preschool group last year. (To paraphrase something I once heard Paula Scher say.. "Have one good idea, then keep re-doing it.")

The trick is to draw the head and body for each child, so it fills up the page nicely and fits in the frame (I made these ones from heavyweight construction paper). Have your kids draw first with a pen or black pencil, just the outlines of ears, eyes, nose, mouth, hair, etc. Then use colored pencils or crayons to fill in the details. I loved watching the kids draw their dads, trying to remember how their hair looks, what color their eyes are, what kind of shirt he likes to wear. 

This is Bee's. I love how she decorated her frame.. I am sure her father will feel very loved! When we got home from school I had my 7 year old son make one too (in the green frame at top), I especially love the shirt detail. Then they both filled out the "What I Know About My Dad" questionairre I taped to the back. The kids were really so sweet as they tried to think of good answers to all these questions. My favorite answer of the day came from a darling little 5 year old when I asked her "One thing that makes my dad happy is...". She thought about it for a minute and then said "Just that he has me in his life." I told her that was the best answer I had heard all day.

If you feel so inclined to make your own, here is a template for the head, and the questionairre (which prints two to a page).

Wednesday
Apr182012

making granola

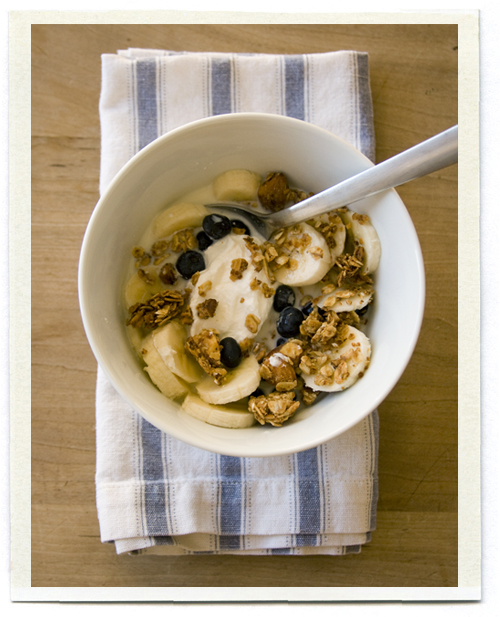
I've told the story before about my friend Katie and the brunch she threw one Saturday morning at her house in Brooklyn. Everyone had brought their favorite breakfast foods, and the table was filled with streudels and donuts and all kinds of deliciousness. But I kept going back for the granola! Katie shared her recipe with me and I've been making it ever since. It makes a perfect breakfast with a scoop of greek yogurt, some milk, and whatever fruit or berries you have on hand. 

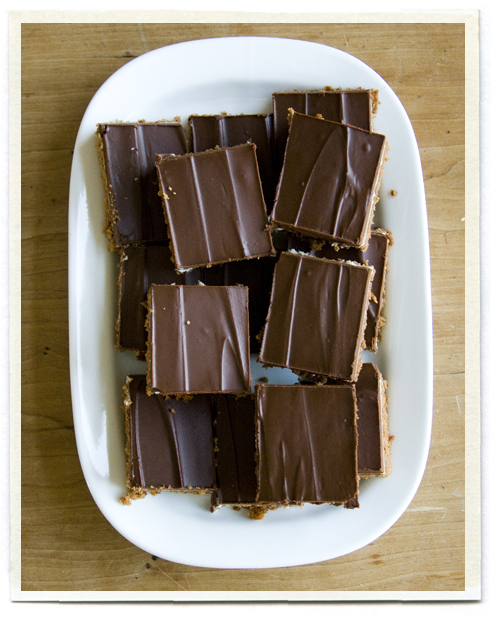
Katie's Amazing Granola

This granola makes a TON, two full sheet pans to be exact. I don't have a bowl big enough to fit everything at once, so I make mine in two big bowls and divide all the ingredients in half.

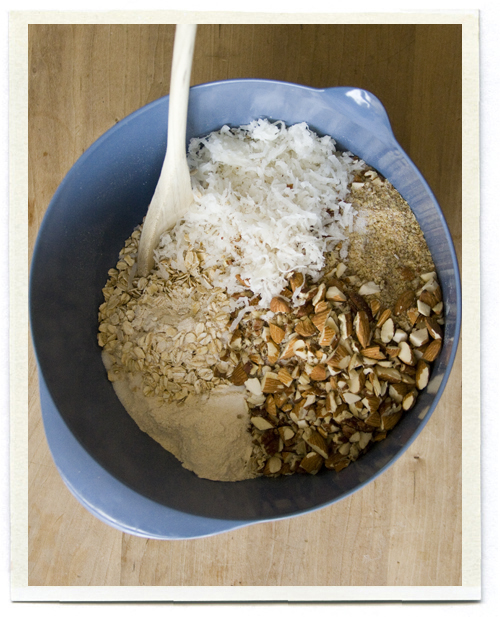
In a large bowl (or two!) mix the following ingredients:

 10 cups of old fashioned rolled oats (buy from the bin at your local health food store..)
2 cups of whole wheat flour
2 cups of wheat germ (store in your fridge between batches)
2 cups of shredded coconut
2 cups chopped pecans and/or almonds
1 tablespoon salt

In a separate bowl, mix the following: 

4 tablespoons vanilla
1/2 cup water
3/4 cup of oil (I use Canola)
2 cups honey (if you use the same cup you used for the oil, the honey should slide right out)

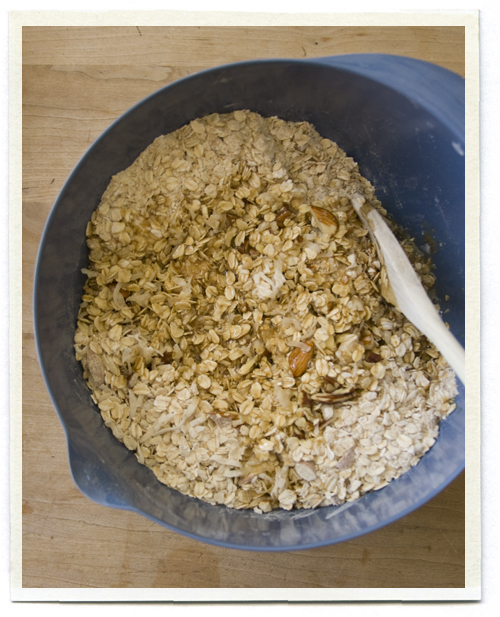
Divide the wet mixture between your two bowls of granola and mix well.


Spread your granola in two large, shallow pans. Bake at 250 until deep golden and almost dry, about 2 hours. Every 30 minutes rotate your pans and stir and crumble the granola with a big wooden spoon (the outside edges will brown first, so you want to mix everything around so it all cooks evenly). 

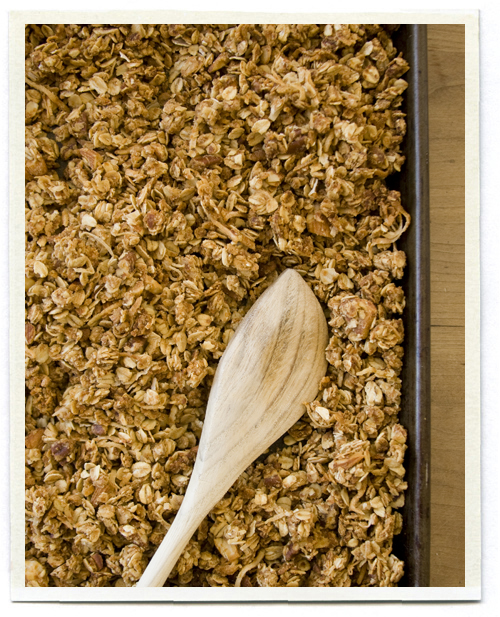
When it's all nice and golden and you've broken up most of your big chunks, remove from the oven and let cool (I leave mine on the counter overnight). Store tightly covered or in the refrigerator if you have room.

Teacher Appreciation Week is coming up and I guest posted over at Skip to My Lou about giving granola as a gift. I like to fill old mason jars with granola and tie a ribbon around the lid. Use this printable PDF to make a label you can personalize with your teacher’s name (it also includes some of the ingredients in case there are any allergies).  I print mine on full page Avery shipping labels, cutting around each circle with scissors. A thoughtful way to let your teachers know you appreciate all they do. I've been known to give jars of this away to friends on their birthdays as well.
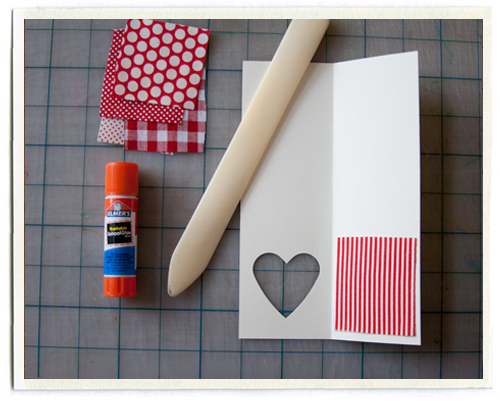
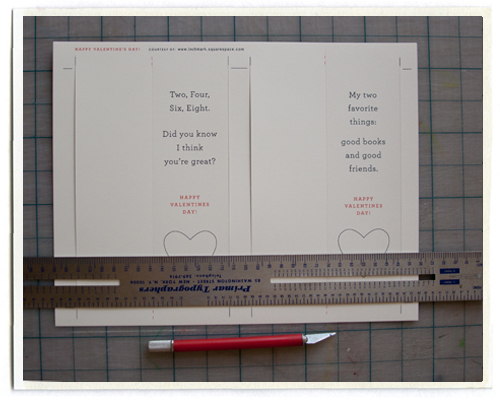
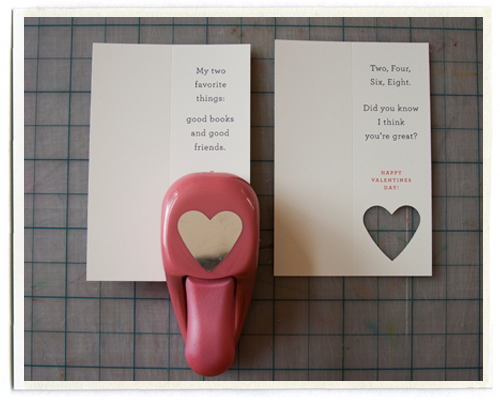
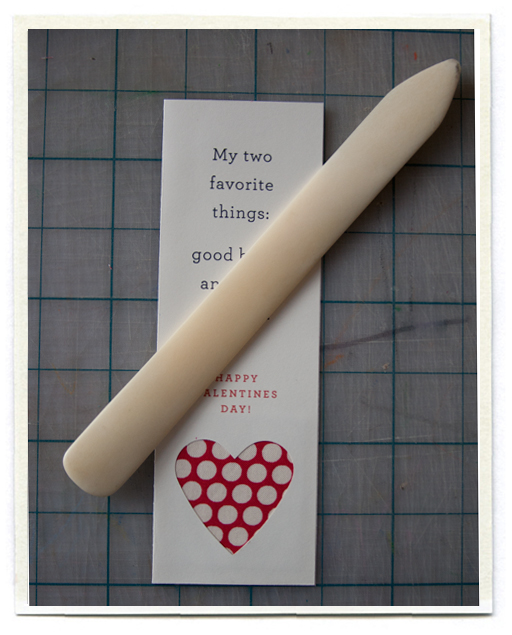
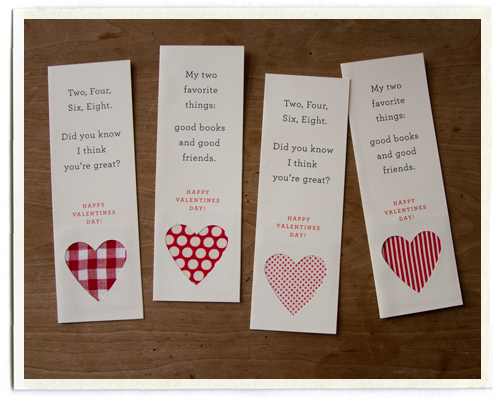
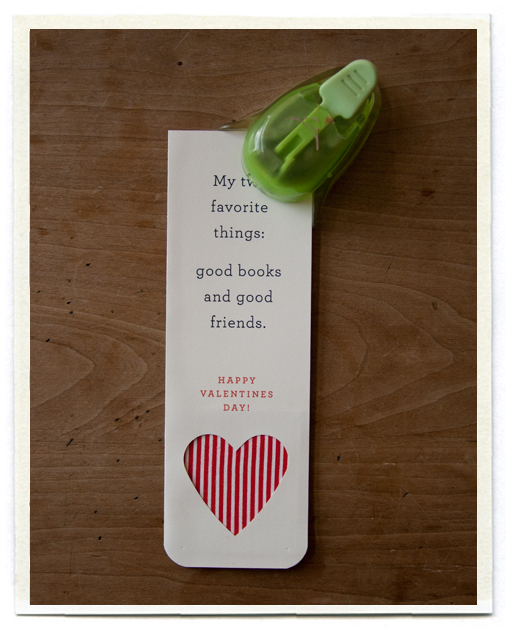
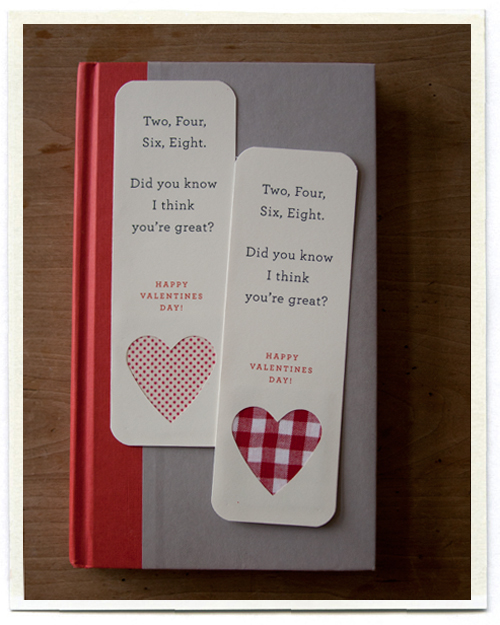
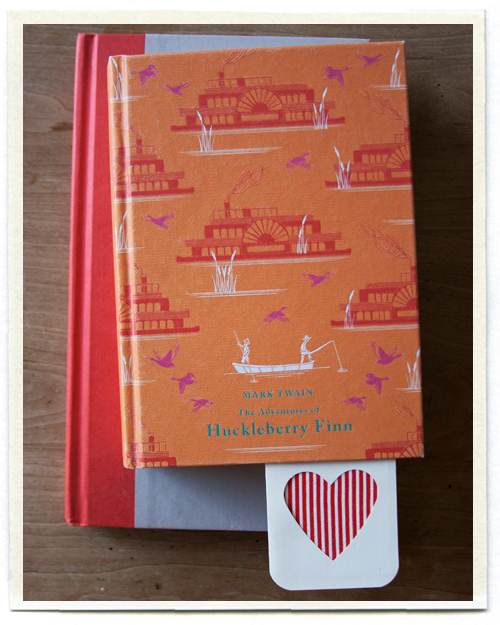
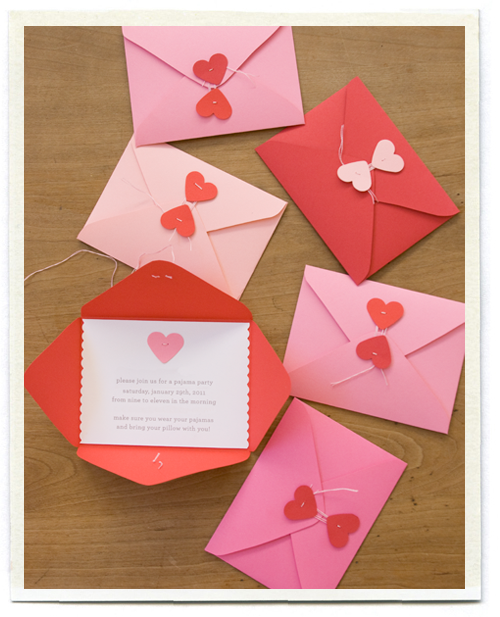
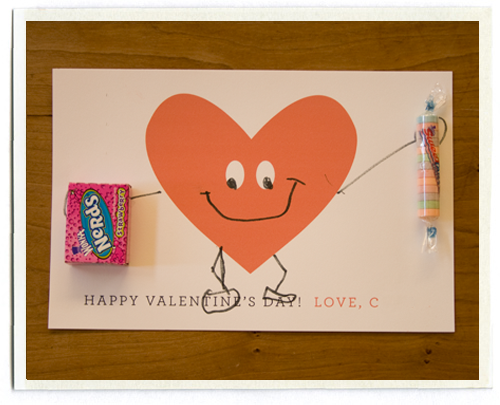
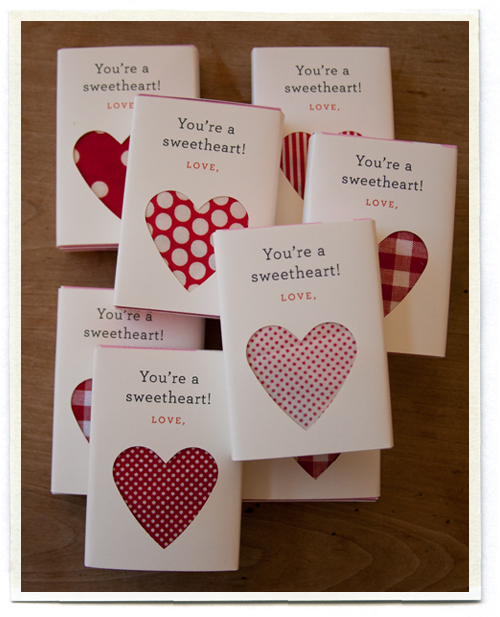
Friday
Mar162012

st. patty's day mint brownies

I've been on the hunt for a good mint brownie recipe since my college days, where you could pick one up at the cafeteria most days of the week. So when my friend Jen made these delicious brownies for a baby shower, I hunted her down for the recipe the very next day. They've been a favorite ever since and are the perfect dessert to follow our traditional Corned Beef and Cabbage dinner. Have you tried Mark Bittman's recipe, by the way? You boil everything per usual, (he skewers his cabbage wedges so they stay together) and at the very end you pull everything out of the pot and bake it in a 300 degree oven for about 15 minutes so it's not all soggy. It's a game changer. I love it with a little horseradish mixed with sour cream. But back to the brownies..

Jen's Mint Brownies

The brownie base on these is more of a Texas sheet cake, which I love, but purists may prefer a more traditional brownie base, then duplicating the two layers on top. 

2 1/4 sticks butter, melted 
3/4 cup cocoa
2 1/4 cups sugar
6 eggs, slightly beaten
1 1/2 teaspoons vanilla
1 7/8 cups flour
1/8 teaspoon salt 
1 cup chopped walnuts (optional)

Preheat oven to 350. Mix together butter and cocoa. Add sugar. Stir in eggs and vanilla. Add flour and salt; mix well. Pour into a greased jelly roll pan (aka large cookie sheet with edges). Bake 15 minutes. Do not overcook; if you see any air bubbles, pop with a toothpick and smooth down. Cool completely, then frost with Mint Frosting.

Mint Frosting

4 cups powdered sugar
8 tablespoons butter, melted
1 teaspoon peppermint extract
3 drops of green food coloring
4 tablespoons milk (or as much needed to get to a spreadable consistency)

Mix all ingredients, then spread in a thin layer on top of cooled brownies. Work fast as it dries quickly. Let the mint frosting layer set for about a half hour, then top with chocolate frosting.

Chocolate Frosting

3 cups of semi-sweet chocolate chips
1 1/2 square of butter (10 tablespoons)

Melt together carefully in the microwave (cook for 30 seconds at a time, stirring between each round until fully melted and combined). Pour evenly over mint brownies and carefully spread until you reach all the edges of the pan. Put brownies in the fridge for 20-30 minutes or until chocolate layer is fully set, then cut into squares. Keep extras in the fridge.

Happy St. Patrick's Day!

Tuesday
Feb142012

star wars valentine

One last valentine for 2012. Though my daughter Bee, who is in kindergarten, can't wait to pass out her fan valentine's at school. My son "C", who is in second grade this year, decided that fans were too "girly" for him to pass out at school. While perusing the candy options at our local party store, we came up with this more manly Star Wars option.

Slits are cut into the card with an X-acto knife and pixi stix inserted to make light sabers (and secured with a little piece of tape on the back).  C was very pleased with the results. Happy Valentine's Day!

(Many folks have asked for a printable for these, but I can't give you one without breaking all sorts of copyright laws in the process. I know people do it all the time in blogland, but I can only provide templates or downloads for artwork I've created myself. I hope you understand.)

Monday
Feb132012

last-minute valentines

Are you all set for Valentines Day tomorrow? If you're still scrambling to make something for your kids or need something the kids can take to school, here are some of the valentines we've made the past few years. Good luck!

Matchbox valentines

Portrait Valentines  (Jenny from Dinner a Love Story just posted her kids' here..)

Heart Notepads

Valentine Man

Valentine Alphabet for your sweetheart

Wishing you a Happy Valentine's Day, however you choose to celebrate it!

Thursday
Feb092012

valentines 2012

I was asked by the folks over at Martha Stewart's family blog to submit an idea for their valentine contest. If you feel so inclined, I'd love if you popped over and voted

We're big fans of Valentine's Day at our house. This has not always been the case, as I spent most of my high school and college years dreading Valentine's Day and wanting to slap all those love-struck couples I saw making out on campus. But Valentine's Day with kids is a whole different story, and besides our annual Valentine's Day family dinner, the big debate is always what the kids will bring for their classmates this year.

My kids are also big fans of candy, and what's a valentine without a treat? So we were a little puzzled when my daughter Bee's teacher asked that we not include candy in our cards this year (due to an allergy in the class). A valentine without candy? WHAT?

We wanted to come up with an idea we could make at home, with materials we had on hand (if possible). I remembered these Fourth of July folding fans from Martha Stewart and we decided to make a Valentine-y version. (It's also been around 75 degrees here in Southern California lately, so fans make a lot of sense here!)

You can read the directions here, but these come together pretty quickly if you have a few helpers on hand. Bee was great at folding the paper up accordian style, and I was on glue and handle duty. You can make them any size you want, but we made most of ours using 12" x 5" pieces of paper, which will make a 5" fan.

I made little tags that say simply "I'm a fan!" and "Stay cool!" and we punched a hole in the top and bottom. Feed your fan handles through the holes and it will keep the handles together and hold your fan open. You can download a PDF of the tags here, it prints 12 to a page. Cardstock or a paper with some heft works best.

I'm hoping the kids in Bee's class with be "fans" as well. Happy Valentine's Day!