Entries in JR (17)

Saturday
Jan262013

10!

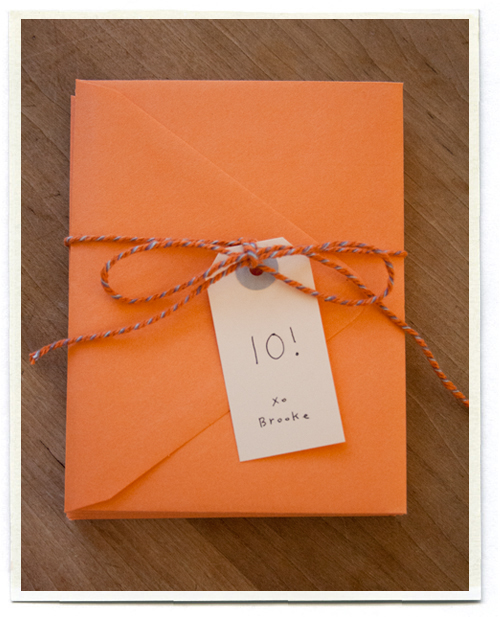
A few months back JR and I celebrated our tenth wedding anniversary (10!). Inspired by a card I saw in Martha Stewart Living last February which had several envelopes glued together to make one long card, I made a folded card for JR with an envelope for each year we've been married. 

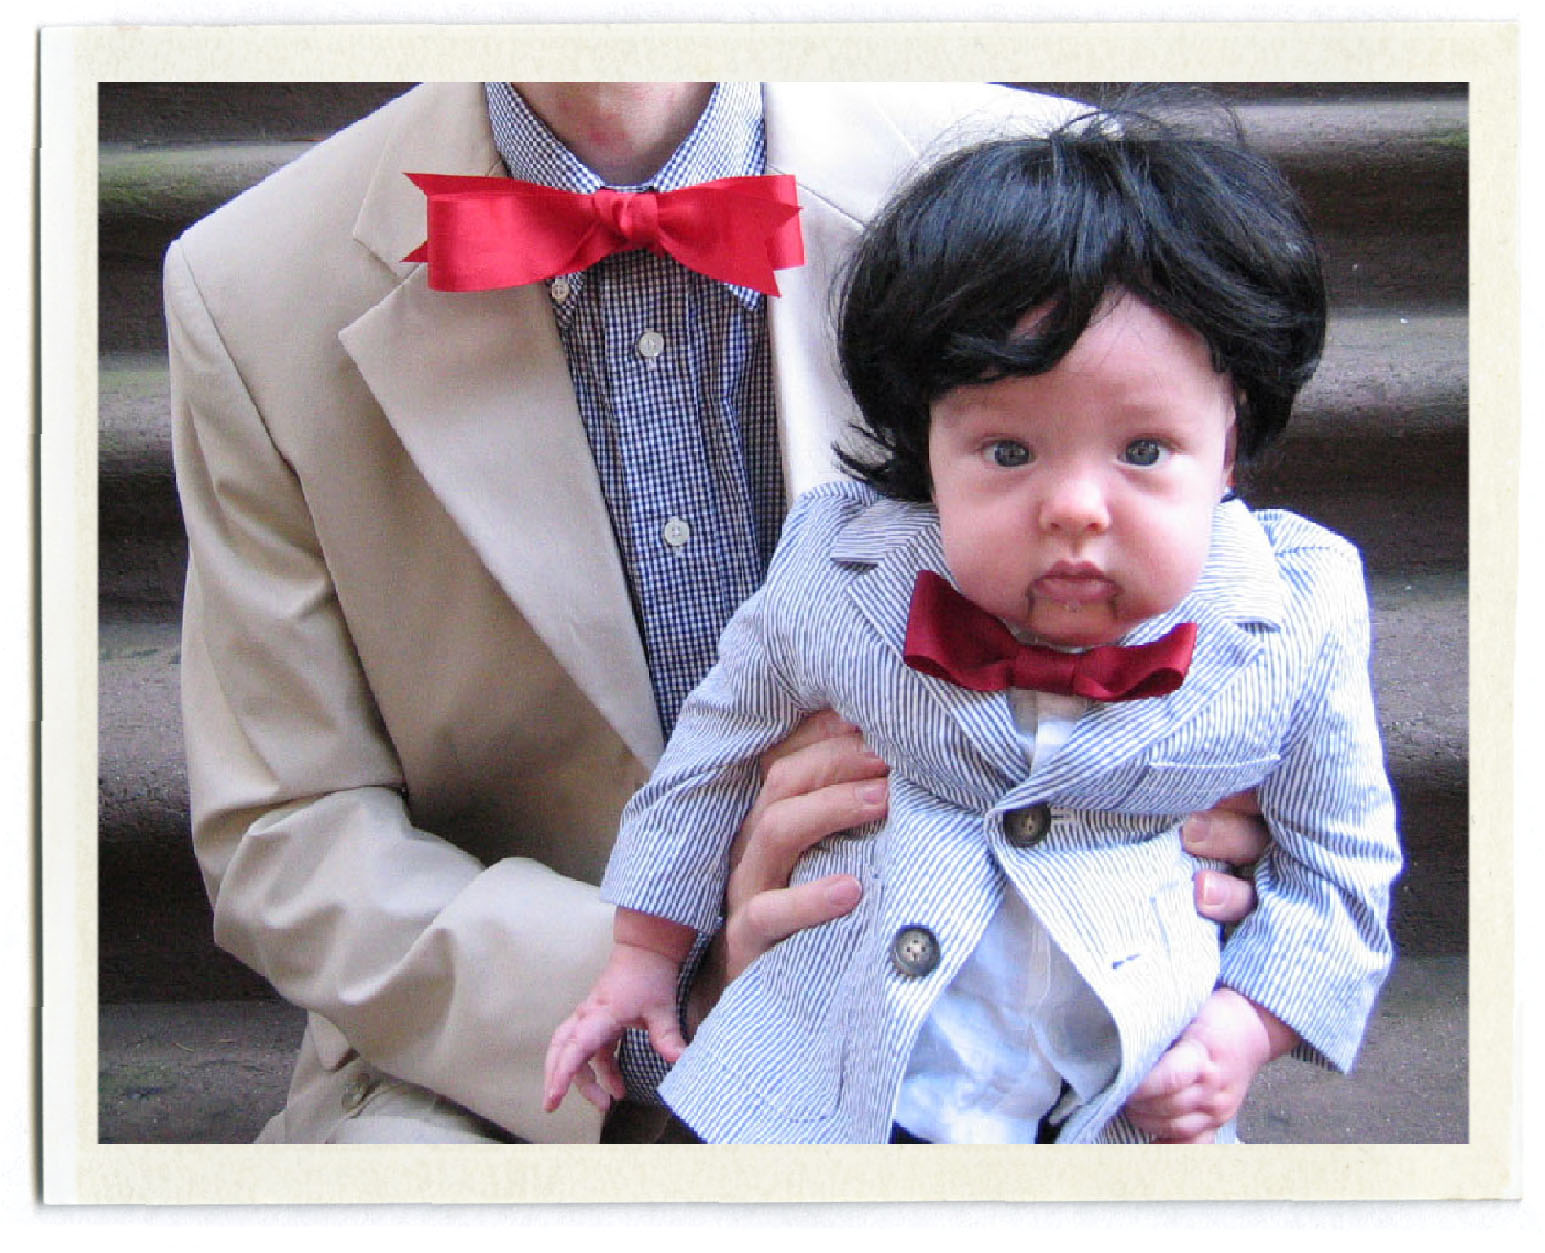
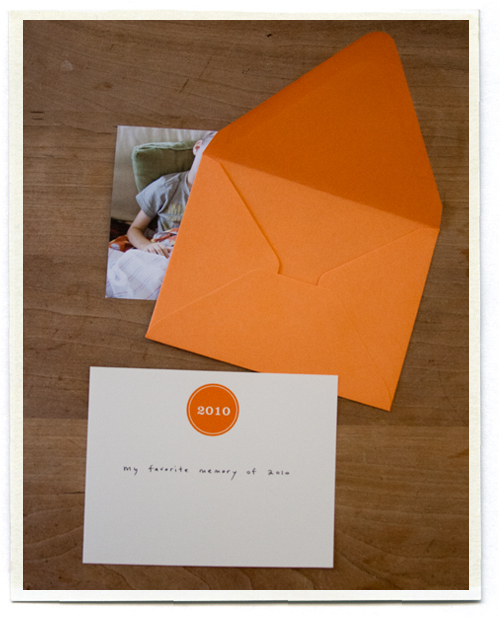
Inside each envelope was a card that shared my favorite memory from that year, and a photo that went with the memory. (In 2010, it was the birth of our little girl Em, so the picture was of our older two children holding baby Em on the day she came home from the hospital).

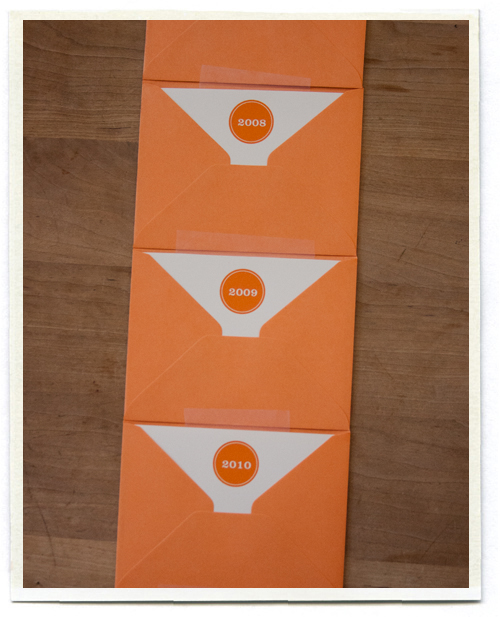
The front flap of each envelope was taped to the back of the year in front of it (for example, the flap of 2010 was taped to the back of 2009). I taped the sides of the flap and also the bottom of the flap as seen above. Note that you need to use sticky tape so that the card holds together, I used washi tape in my first attempt and it fell apart when I folded my card up. You can also glue the flap instead if you don't want to see any tape between the envelopes.

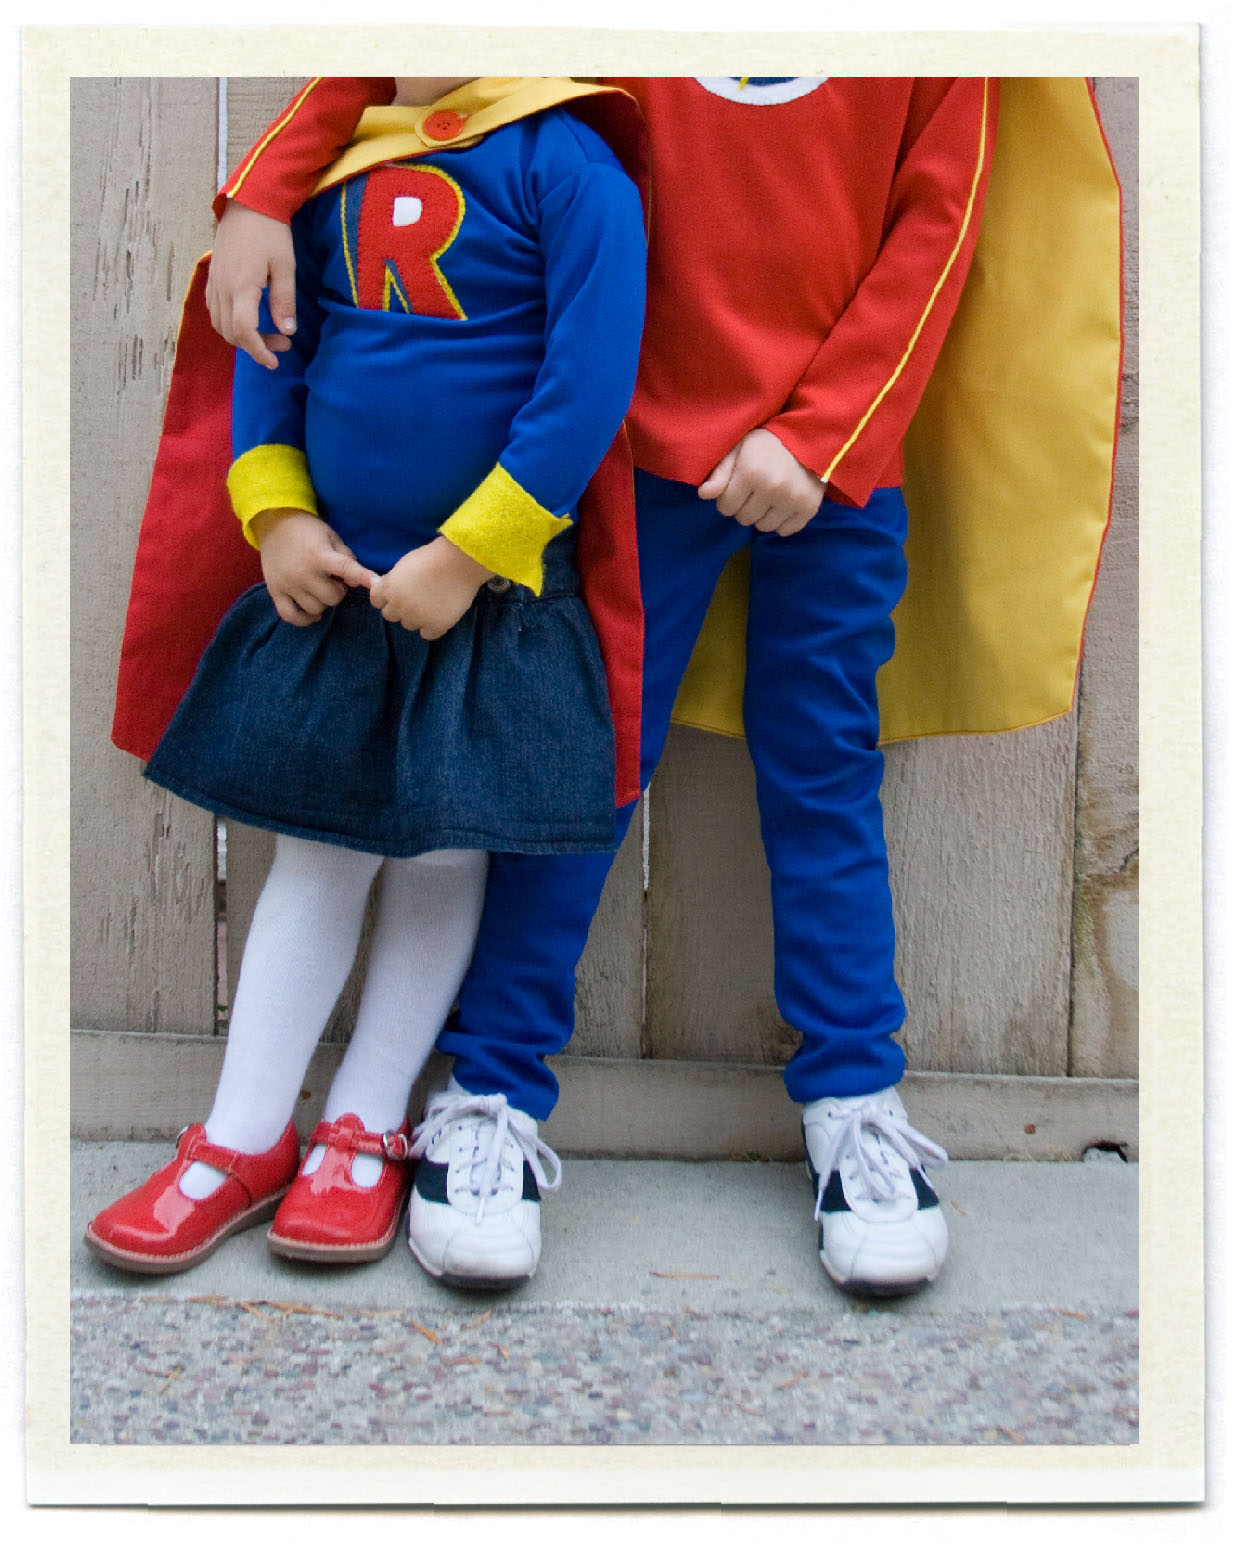
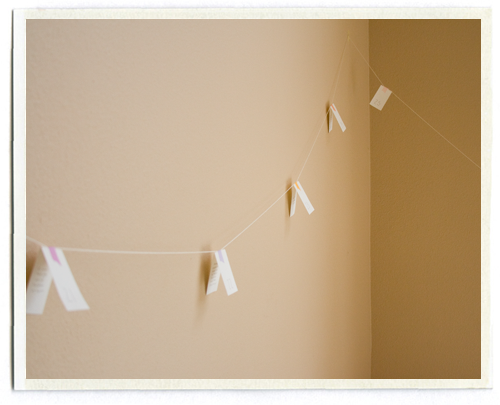
Then fold up your card accordian style, tie with a string, and add a little tag. Perhaps my favorite part of making this card was going back through all our old photos and finding a picture for each year. Watching our little family grow from a young married couple, to working newlyweds, to parents of one tiny baby... then two, then three, and now four beautiful kids. It's a little like seeing your life on fast forward and reminded me how happy I am to spend my time with these special people.

Here is a template you can use for the cards. Cards print 4 to a page and fit in size A2 envelopes (I like the ones from Paper Source because they come in such lovely colors). I only went back to 1991, since due to the work involved, this card is probably best for couples who have been together less than 20 years! 

I think this same idea could also make a thoughtful, non-cheesy Valentine's Day card. Maybe I should make a red or heart version?

Sunday
Oct302011

why we love halloween

Friday night JR and I were busy sewing Halloween costumes for the kids. It was late, too late, and we were tired. A few times I looked over at JR as he was taking measurements and cutting fabric, and thought.. Why do we do this to ourselves each year?

I guess it's just become part of the tradition of Halloween in our family. Some people go all out with lawn decorations. Some people bake delicious pumpkin treats all October long. But for our family, we make our costumes. We try to use things we have already, or will use again after Halloween. And we try to keep the sewing (and cost) to a minimum. We think a clever costume is better than an elaborate one. And we try to convince the kids to be something unique (though we often fail).

There's just something great about homemade costumes. I like rummaging through our drawers and seeing what we can come up with. I love that the kids get to pick what they want to be and mom and dad make it happen. I know they won't always want to have us make their costumes, so we are enjoying it while we can. And when I look back at pictures from Halloweens past, I remember why we stay up late sewing and glueing and tinkering. Is it worth it? Oh yes, and then some.

Sunday
Sep112011

9.11.

Ten years ago I watched the towers fall from my office on East 43rd Street. I had gotten to work a little early that morning and walked into the elevator with our Style Director. He told me someone had just flown a plane into one of the twin towers.

I remember how normal everything felt up until that moment. My typical morning subway ride, my short walk across Bryant Park into our building. And then suddenly everything was different.

We headed to an office we knew had a television. By the time we got upstairs the second tower had been hit. Our offices were on the 24th Floor and faced south, so we could see the Empire State Building out the window, and behind it, the twin towers. I remember looking at the television screen and seeing the smoke billowing out of the towers, and then looking out the window and seeing it in real life. It looked fake, like I was watching a movie.

I went to my desk to try and call my mom in California, I knew she would be worried even though I was more than 50 blocks away. While we were talking, I watched the first tower crumble and fall. I said "Mom, the tower... it's gone." And she said "No, no.. I'm watching the news right now and it's standing." "No mom, it's gone."

A co-worker and I climbed over my desk and opened the window so we could get onto the balcony that ran along our floor. She was crying. She kept asking, "My friend works on the 48th floor. Do you think he got out?" I remember trying to do the math in my head, the towers were 100 or so stories high, and I was thinking of how many people were on each floor, and how there was no way everyone could have gotten out before the collapse.

We were standing there watching the smoke when the second tower fell.

I was worried about my boyfriend, who worked ten blocks north of the towers. Cell phone service was spotty and I finally got in touch with him.. he was safe and walking north. We decided to meet at my old apartment in Hell's Kitchen where my roommate still lived, since there was no way to get to my new apartment in Brooklyn. I was finally able to get home near midnight, once a few of the subways lines were up and running. The streets were covered in ash and debris from the buildings.

I had been living in the city for over three years, but I became a New Yorker that day.

Three months later my boyfriend and I got engaged down by the water's edge in Brooklyn, staring at the skyline that was now forever different. A few years ago we left New York for California, with our two children in tow. This morning I watched my baby girl take some of her very first steps, and I thought about how much has changed in ten years.

I posted this photo back in 2008, when my blog was only a few weeks old and had about 15 readers (most of which were related to me). I hope you don't mind me showing it again, this was the view from my office window. You can see the twin towers standing behind the Empire State Building.

Friday
Aug122011

bottle cap labels

JR celebrated a big birthday a few weeks ago, and he's notoriously hard to buy gifts for. The kids and I thought long and hard about what to get him and decided to give him a collection of different gourmet root beers. JR really likes a good root beer (his favorite right now is Virgil's). Because JR was turning 40, we collected 40 different kinds and added a numbered label to the top of each bottle cap.

We printed the numbers out on label paper (I use the Avery full page sheets that you feed into an inkjet printer) and then punched them out with a 1" circle punch. Luckily all bottle caps seem to be right around 1" wide. While we were getting the bottles ready my five year old Bee remarked, "This is going to be a lot of work when dad turns 100!".

Letters could work too, you could spell out a message or just say "Happy Birthday". If you'd like to make some of your own bottle cap labels, I've made a two page file you can download here. Numbers are on the first page (up to 50) and letters on the second page (which includes two of almost all the letters in the alphabet). Happy Birthday JR! You're going to let me help you drink some of that root beer, right?

Saturday
Jul092011

bat girl

This spring we spent most of our Saturday mornings over at the baseball fields, rooting for my son C and his team. It was our first time playing little league, and Bee soon grew tired of sitting in the bleachers with me and Baby M. After talking it over with the coach (who luckily happened to be her dad) Bee deemed herself the team's "bat girl".

She would stand at the ready inside the dugout while our team was at bat, and then race out as fast as she could to pick up the bat and run it back to the dugout. (We actually had to have a few talks about slowing down and looking around because she would run smack into the next batter as he was walking to home plate.) She started wearing her own "uniform" each week, a red and white striped shirt and her brother's red soccer socks, so she would match the rest of the team.

I love Bee. She is so full of energy, so full of joy. I loved watching her big grin as she sprinted back with the bat in her hands, loved seeing her sit in the dugout with her brother, loved watching her dad help make her feel like a part of the team. As the season went on, Bee really felt like she WAS a part of the team, she would sit with the boys in the dugout and line up after the game to shake hands with the other team. We had our final awards ceremony a few weeks ago and Bee was sorely disappointed that there wasn't a trophy for her. (Luckily her mom had made award certificates for the whole team, including a special one for Bee).

Saturday
Aug282010

a balloon pinata - the how to

We needed lots of candy in our balloons for our balloon pinata. Our first attempts, just opening the neck of a standard latex balloon and shoving in as much candy as we could, averaged about 3 to 4 pieces before we poked a hole somewhere. My husband then decided it was time for a new plan and a trip to Home Depot.

The basic concept is to create a vacuum so you can expand the balloon, insert your candy, and then slowly deflate the balloon. This was the method my husband came up with, but you could make a vacuum any number of ways. You'll need a wet/dry vacuum, and a few other items: a 4" PVC pipe elbow, a 4" rubber end cap, a piece of PVC coupling that's big enough for your candy to pass through, a 4" to 2" reducer, and a little valve to help control the airflow. (All this will run you about $20, assuming you have a vacuum.)

You can see everything in the photo above. Starting from the left side: the valve (attached to the wet/dry vac), some PVC pipe, a 4" to 2" reducer (the black funnel-like piece), and a 4" elbow piece of PVC pipe.

You need to cut a hole in the rubber end cap (the black piece on the bottom right) to fit your 2" PVC coupling. This is what you will feed your candy through.

Once you're all assembled, stretch the neck of the balloon over the 2" pipe coupling. Then slide the rubber end cap onto the elbow piece, with the balloon inside the elbow.

Now the tricky part: You need to open up the valve just enough to create a vacuum and expand your balloon. It's all about pressure, you need a decent amount of pressure to expand the balloon, but if you use too much, it will pop. 

It's probably not a perfect seal, so you need to maintain the vacuum with a certain amount of pressure to keep the balloon blown up. JR found it helped to manually tweak the pressure by holding the joint between the valve and the wet/dry vac hose (see photo below).

Once your balloon is expanded, grab your candy and drop it piece by piece through the 2" piece of coupling (we made ours big enough to fit our biggest piece of candy, a box of Nerds). We found 13-15 pieces of candy worked well, when we tried to do more we usually popped our balloon. Then slowly tweak the pressure so the balloon deflates around the candy.

When you open up the rubber end cap, you'll see all the candy with the balloon deflated around it. We then used a small hand pump to blow up the balloons to the desired size. 

We blew our balloons up the night before the party and kept them in a large trash bag. Once we were at the park ready for the party, we staple gunned the balloons to a big wooden board (we covered ours with a plastic tablecloth to avoid splinters).

One at a time, each guest at the party stood about 5 feet in front of the board and threw a dart at the balloons, trying to pop one. The balloon would pop, and the candy would explode, and the child got to run and grab all the candy from their balloon. The kids loved it, and even the littlest guys who were 4 and 5 years old could pop a balloon pretty easily. 

Thanks for figuring this one out JR. I love the crazy way your mind works.

Sunday
Aug152010

39 reasons why I love you

I love my husband. And he knows that. But on his birthday, I like to make sure he knows it in more ways than one. So this year I sat down and wrote out 39 things I love about JR, since he turned 39 this year. (I take it as a good sign that 39 things came fairly easily.. maybe it will get more difficult when he is turning 87?)

Here's how to make your own...  Grab some strips of paper, some colored tape, and some string. Then write 39 things you love about the birthday boy: traits you admire, things you know will make him laugh, add some serious things as well. Lay out some string and tape your strips in order, from number 1 to 39 (mine were about 18 inches apart).

Hang your string up using a little more tape. I put mine up all around our living and dining room, since it's the first room my husband enters when he comes home. They make a festive little garland, and later that night JR walked slowly around the room reading all of the messages.

When I took the garland down a few days later I saved all of the little strips, tucked them into an envelope and stashed it in my husband's desk so he can reread the things I love about him anytime he likes.

And because so many of you asked.. I got my tape as a Christmas gift from here.

Tuesday
Jun222010

heavenly hash

It's jam making time around these parts. Around May I start watching the price of berries at the store, and usually in late May or early June, berries are so cheap you can buy loads of them for a dollar or less a pound. Last year we stuck with strawberry jam, and it was delicious. We ate our last jar just a few weeks ago.

This year, in addition to making five batches of strawberry jam, JR decided we should try our hand at making Heavenly Hash. For those of you who aren't lucky enough to have a Grandma Hellewell, Heavenly Hash is a jam my grandma makes which is a combination of strawberries, raspberries, and blackberries. And it lives up to it's name.. the stuff is amazingly good.

Grandma happened to call me yesterday and when I asked her if she had made her Heavenly Hash yet, she told me she likes to use boysenberries instead of blackberries. My grandfather always had a large garden in their backyard, and he made sure to grow enough fruit to make jam in the spring. Grandpa passed away several years ago, but there is still one boysenberry bush producing, which means Grandma can still make at least one batch of Heavenly Hash.

We used blackberries in ours and it turned out pretty good... not as good as Grandma's, but not bad for our first attempt. Both JR and I think boysenberries would be better, but they are a little hard to come by. What is a boysenberry, you ask? Boysenberries are a cross between a raspberry, a blackberry and/or a loganberry. And the story of the boysenberry and how it came to be is one worth telling.

Turns out a man named Rudolph Boysen had been experimenting with a new kind of berry, but gave up after a few years. Walter Knott, a local farmer and a bit of a berry expert, heard about the berries and tracked down Boysen, who had since sold his farm. Knott want back to the original farm, found a few of the struggling plants still alive, and transplanted them back to his farm where he nursed them back to fruit bearing health. He named the berry after its creator: the Boysen-berry. Knott soon went on to find his own success, first at a roadside stand where he and his wife made jams and pies using the boysenberry; later with a chicken restaurant; and then for the famous theme park Knott's Berry Farm which they began in the '40's as a way to entertain people who were waiting for a table at the chicken restaurant. According to the Knott's Berry Farm website, all boysenberries in the world can trace their roots back to the original Knott farm.

My grandma says boysenberry plants can be tricky, and that she isn't patient enough to baby them the way my grandfather did. One more thing to add to the garden I am planning in my head... we'll have to carve out a little place for the boysenberries.

Monday
Jun072010

the moon from our backyard

JR happened to look out at the full moon the other night as the clouds moved in and out. He grabbed the camera and shot a few frames. I think they are beautiful.. don't they feel like paintings?

Tuesday
Apr272010

back soon

JR and I are taking a little trip to New York this week. A few days to spend in the city we love.. which also happens to be the city where we fell in love. I'm excited to see New York in all its glory in the springtime, visit my favorite little shops, eat at some of the restaurants I've been missing, see Purl Soho's beautiful new shop in person, visit with some of our old friends, and most of all, spend some alone time with JR.

NOTE: My break here will have to be a little longer than I expected. JR and I had a great time in NYC, and since then have taken the kids camping, had my brother in town visiting with his family, took the kids to Disneyland for the first time and now I am flying away to a photo shoot. I have so many things I'd love to post, but life is just a little too busy right now and they will have to wait until I get back. Back soon!

image from here (if I remember correctly!)