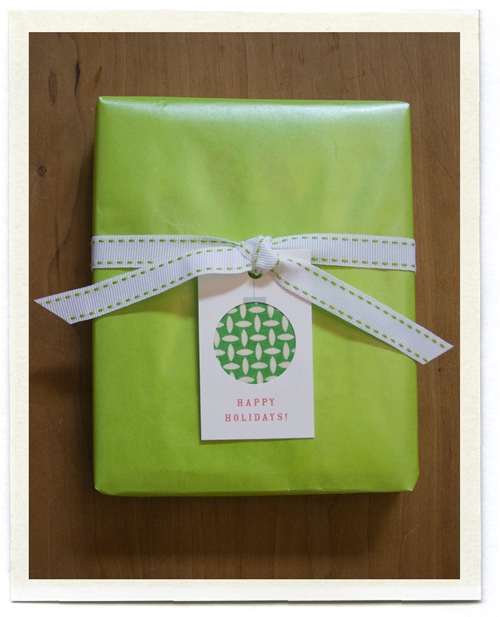
 I know everyone is busy wrapping (or perhaps still finishing) a few gifts. I'm here to help! These gift tags are a great way to use leftover fabric scraps. First, download this template and print it on some white cardstock.
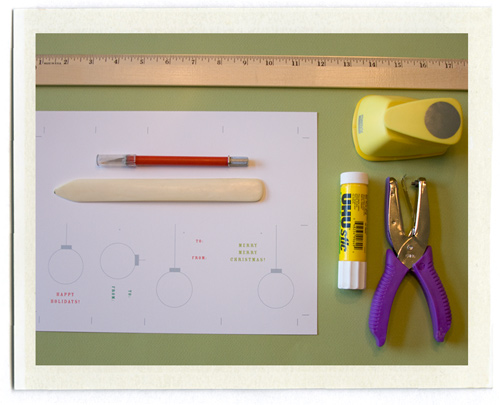
Here's what you need: your printed template, a ruler and an x-acto knife, a bone folder (in order to get nice crisp folds), a cutting mat, glue (spray adhesive or glue stick), 1.5” circle punch (or you can cut the circles with your x-acto knife.. be careful!), a few cute fabric swatches (cut to roughly 1.75” squares), and a hole punch.
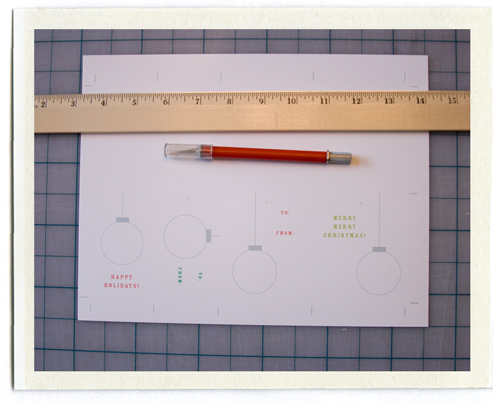
STEP 1: Cut out your tags (each template makes four tags) with a ruler and an x-acto knife, using the guides on the template. I cut the top and bottom horizontal lines first, and then the vertical lines.. do not cut through the paper top to bottom, you want to stop shy of the edge of the paper so you keep the border and your guide marks intact.
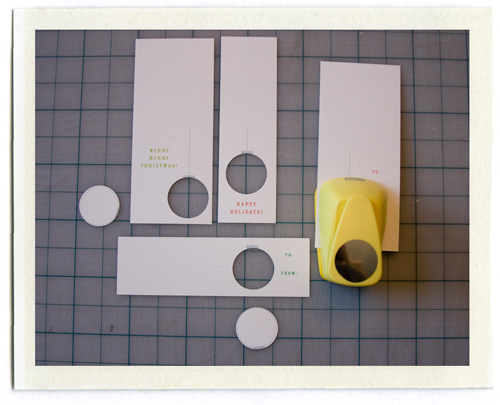
STEP 2: Take the four cards and punch out the 1.5” circle, as marked on the template (your circle punch will be slightly larger than the circle on the template). Line it up as closely as you can.

STEP 3: Apply glue to the entire wrong side (or back of the card) especially the edges. Pick your fabric swatch and affix it to the back of the card, wrong side up, making sure it covers the entire punched circle. (The right side of the fabric should be face down).
Fold the card in half to sandwich the fabric, use a bone folder to get a nice tight fold (or your fingernail). Rub the card all over, making sure the glue is spread evenly over the entire card. Punch holes where indicated. Add string or ribbon and enjoy!

NOTE: Last summer I got to help plan a beautiful wedding for a dear friend that will be featured in Martha Stewart Weddings Winter issue (which comes out next week). We used this same technique for her escort cards, and they looked so beautiful all pinned to a board, I'll let you know when they are up on Martha's website.
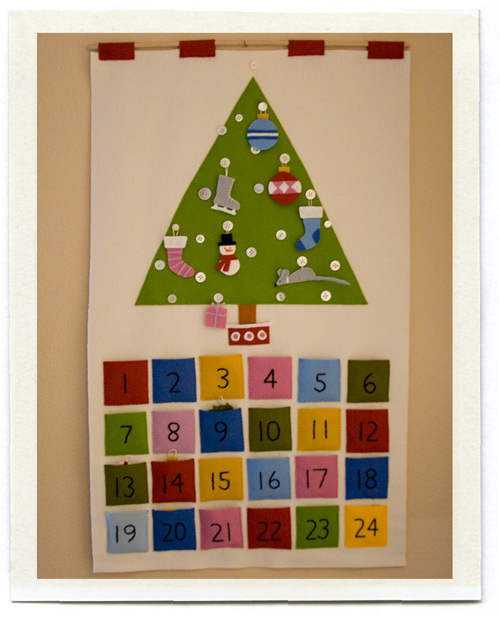
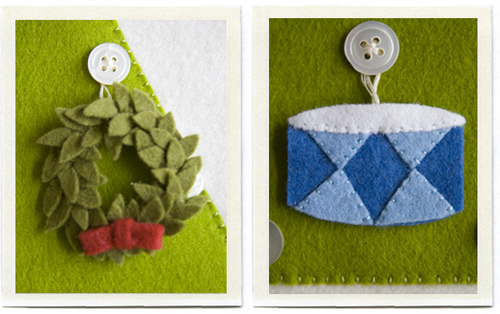
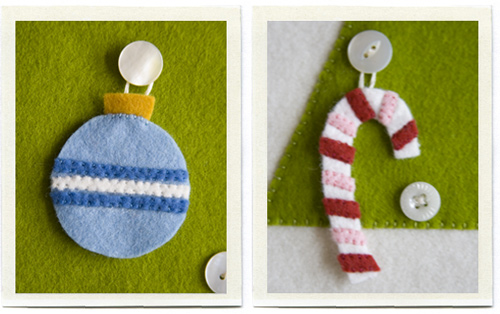
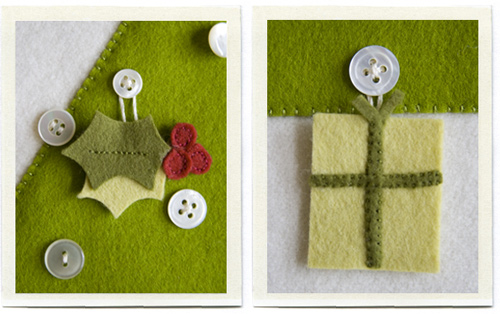
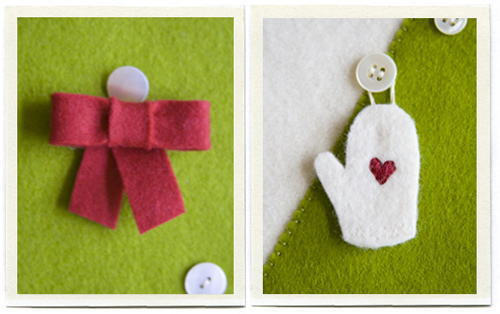
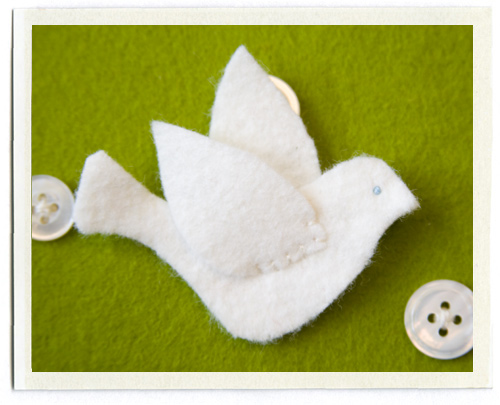
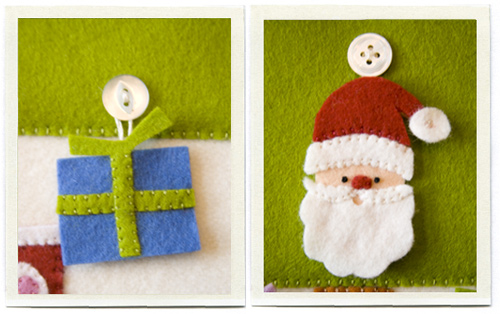
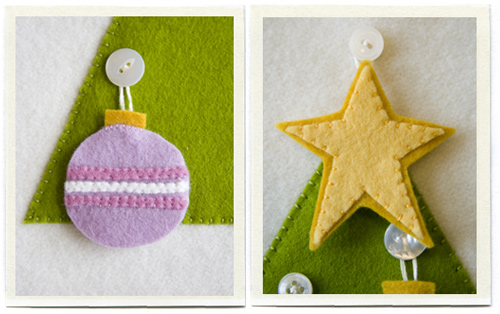
 Are you tired of seeing this yet? I promise this will be the last advent related post, but I did want you to see what it looks like when finished. I have loved watching the kids carefully figure out where each ornament should go, and they are so excited to put the star on top. Here are the last of the ornaments:



 12.22.2008