Entries from December 1, 2008 - December 31, 2008

Tuesday
Dec302008

the stockings — how-to

I'm so glad you like the stockings. Here are some steps on how to make them yourself. Remember that I am fairly new to sewing, so please be kind if I make a mistake here or there.. I am still learning as I go!

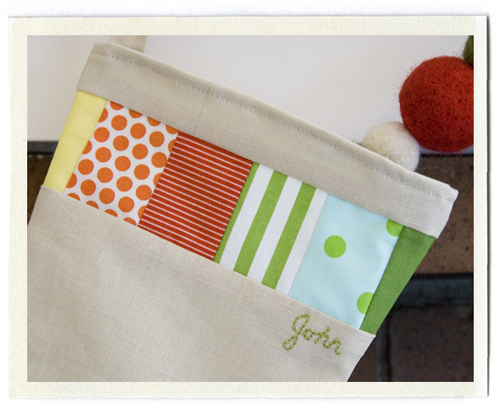
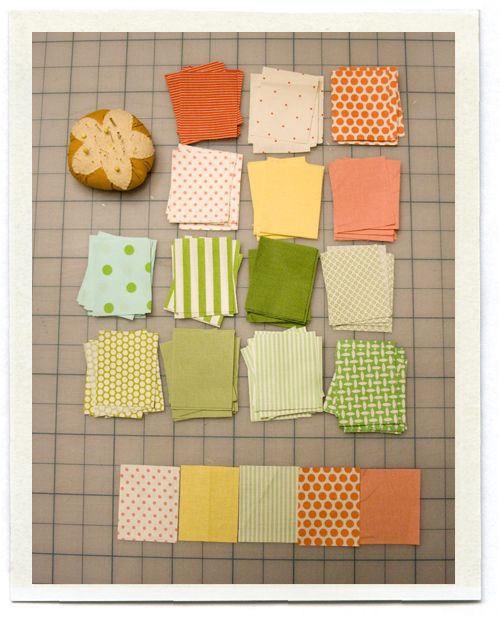
Step 1: Assemble a grouping of fabrics you think work together. Mix some fabrics that are a little busy (like the orange dots) with some on the quieter side (like the tiny red and white stripe). Cut them all down to the same size rectangle (mine are 2.5" tall by 2" wide). Start laying them out in a row, to see what looks nice next to each other (see bottom of the photo). The patchwork strip for each stocking is 6 blocks wide, so here's where you play around and figure out what looks best. You can choose to do the patchwork strip on the front and the back of the stocking (like me) or just on the front. 
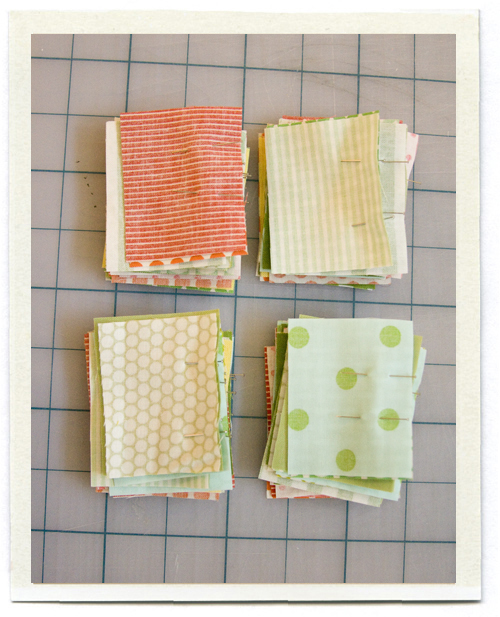
Step 2: Pin your blocks together for chain piecing. Starting at the beginning of each patchwork row, take two blocks and pin them together along the long side, right sides facing. I made a stack for each of my stockings. Try to keep your pairs in order.
Step 3: Now for chain piecing. Sew all your pairs together (check to make sure right sides are facing!) with a 1/4" seam. Just feed them in right after one another, leaving a few stitches between each one. (This is the best thing I learned from my quilting class at Purl Patchwork, thank you Joelle!) 
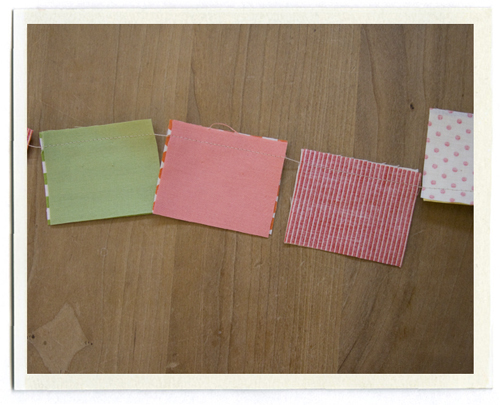
Step 4: Clip the threads off between your sewn pairs, and iron the seam allowances to the right or left (I iron mine to the darker side, so they won't show through). Lay out your pairs in order to make the patchwork strip, and make sure you like the order. This is your last chance to move things around.
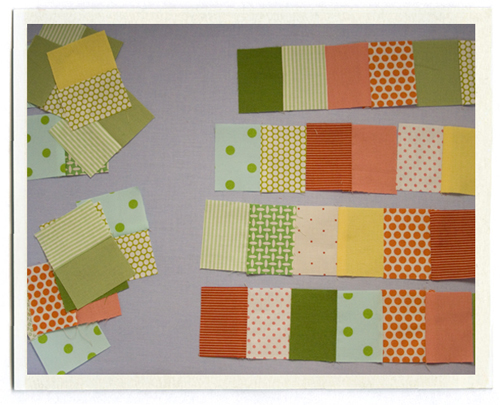
Step 5: Chain piece again, this time you're connecting the pairs you already chain pieced.. so these will be 4 blocks wide. I made a mistake at this point, chain piecing all of my pairs together. So when I sewed mine, they were all 8 blocks wide, and you only need them 6 blocks wide. If I were you, I would sew the first two pairs from a patchwork strip together (giving you 4 blocks wide) and then sew one more pair to the end, so it is 6 blocks wide. Repeat with the remaining rows.
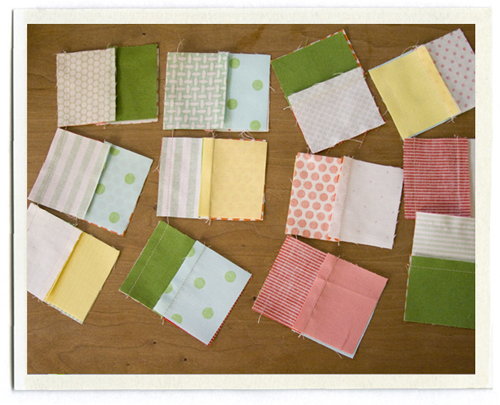
Step 6: Arrange your strips for each stocking. Decide which strip will go on the front of the stocking, and which will go on the back. Look at the front strips all together and make sure they all look a little different.
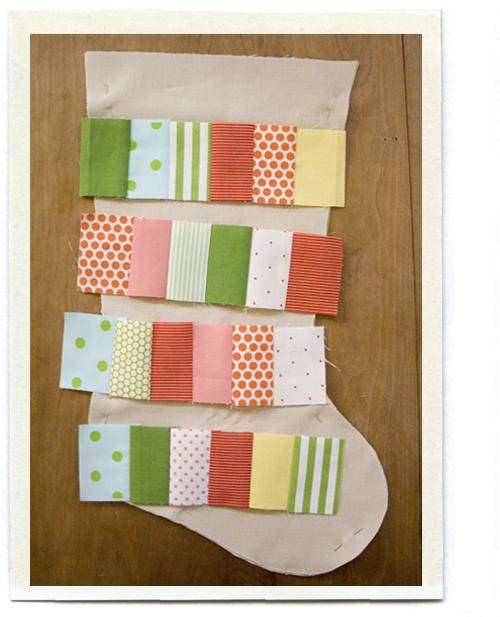
Step 7: Cut two pieces for the outside of each stocking (I just traced a stocking I had for the basic shape, adding a 1/2" seam allowance). I originally wanted to make these out of linen, but thought it looked a little gray next to my fabric, so I chose a linen cotton blend in a creamy tan color. You'll need to cut a strip out of your stocking to add the patchwork strip. Mine are 2.5" high, so you need to remove a 2" high strip (leaving you a 1/4" seam for the top and the bottom). In the photo below, the top strip will become the top of the stocking, and I'm going to cut where the top of the ruler is and remove that 2" strip. Rotary cutters are great for this.
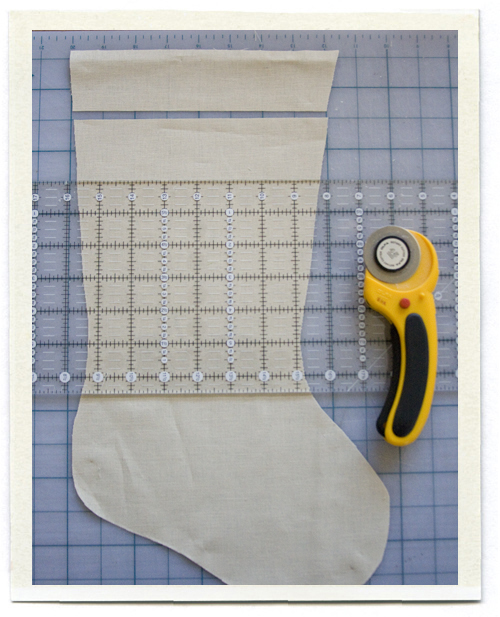
Step 8: Pin your patchwork strip in place, lining the bottom of your strip up with the cut edge of your stocking, right sides facing. I like to pin at each block's seam so you can make sure the seam allowances lay nice and flat as they go through the machine (just like Joelle taught me). Stitch with a 1/4" seam. Repeat on the top of the patchwork strip, attaching it to the top cut portion of your stocking.
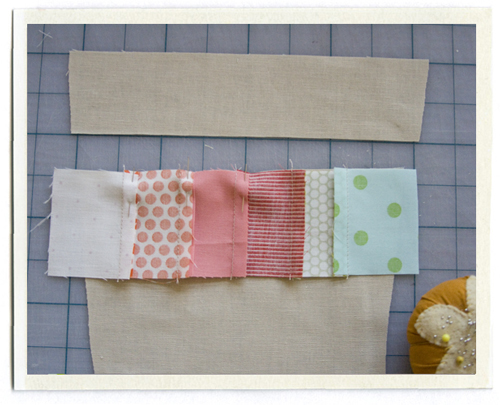
Step 9: Press your seam allowances to the tan stocking side to reduce bulk, and iron around your patchwork strip, pulling on your fabric just a bit so all your creases are nice and crisp. In the photo below, the stocking on the right shows what the front or right side should look like, the one on the left shows the wrong or back side. Use your rotary cutter to trim off the excess bits at the right and left edge of your patchwork strips. You want the edge of your stocking to be one nice line so it will align with your lining.
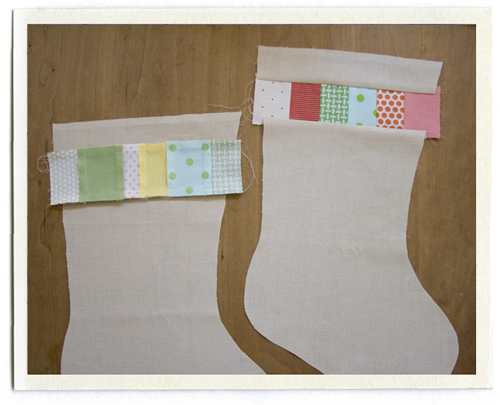
Step 10: Now is the time to embroider your name under the patchwork strip on the front side of your stocking. Make sure you stop at least an inch before the edge to leave enough room for your 1/2" seam when you sew the stockings together. (I used two strands of standard embroidery floss, and I just make the letters up as I go..)

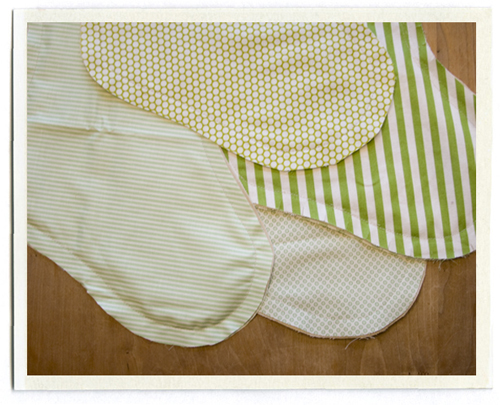
Step 11: I chose to line my four stockings with four different green fabrics. So when you cut out your front and back outer stocking pieces, cut a front and a back from your lining fabric as well. Grab your front and back stocking pieces and take a look at how they are matching up with the front and back lining pieces. Are they a little bit off? No big deal, just trim the edges with a rotary cutter so you can make them match.

When you get ready to stitch the stocking and lining together, lay your pieces in this order (pay attention because I did this wrong the first time) starting from the bottom: 1. lining front wrong side up, 2. stocking front right side up, 3. stocking back wrong side up, 4. lining back right side up. Starting at the top opening of the stocking, sew along the edge with a 1/2" seam (as you can see in the photo below). Leave the top end of your stocking open (you don't want to sew the whole thing shut!). 
Step 12: Finish your seams as you like (mine just got pinked), but remember to clip around your curves a bit so you can turn things out easier. Turn your stocking out, so the lining is on the inside and the stocking fabric is on the outside, focusing on the shape of the toe and boot area (it helps to put your hand in the stocking and carefully push the seams out until you have a nice curved shape). Iron, iron, iron.
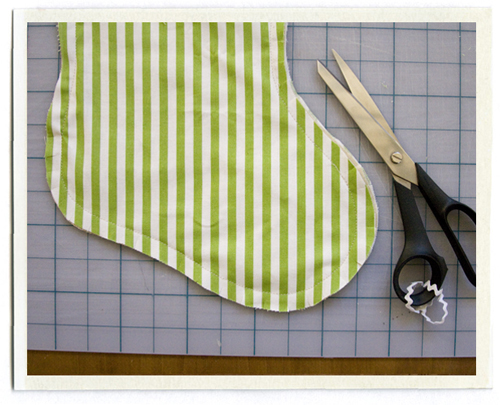
Step 13: Finish the top edge and add a loop. Make a little loop from some scrap fabric. (I used a piece about 2" wide and 4" long. Crease it lengthwise, fold the long sides in to meet the middle and fold lengthwise along the middle crease. Stitch along the long edge.) To finish the top edge of the stocking, fold it over 1/4" (it helps me to iron as I go to help "hold" the fold) and then fold again another 1/4". Iron so you have a nice tight fold and pin along the entire edge. Pin your loop in place so you can sew it in as you go around (I positioned mine in the back, a bit off the stockings side seam, to reduce bulk). Sew along the edge as carefully as you can, since this one really shows. Take your time when you get to the bulky parts and remember to backstitch at the start and end of your row. I went over my loop a few times, just to make sure it was secure. 
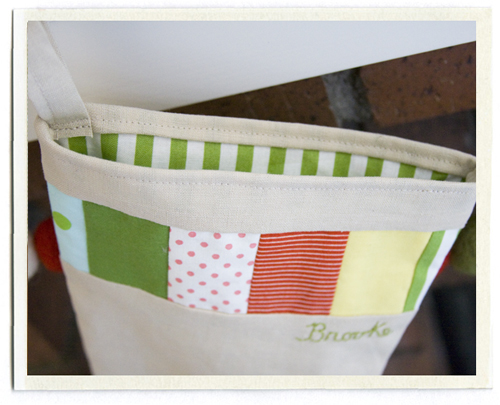
Hang from your mantle and wait for Santa! Good luck!

Monday
Dec292008

the stockings

Do you remember this little color story?

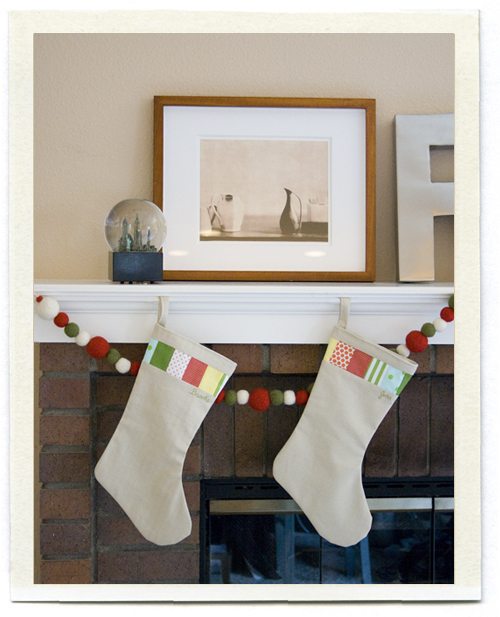
Here's what came of it: patchwork stockings for the whole family. I had high hopes of posting this before Christmas, but truth be told, they were only finished 2 days before. Next year they can hang from the mantle all month long. 

I made four stockings, two for John and I, and two for the kids. (Do people only make stockings for the kids? Well that's no fun.) I based the shape on a cheap stocking I bought last Christmas. Mine are made from a linen cotton blend I found at purlsoho, each has a different green lining and the person's name embroidered on the front. 

I did take a few how-to photos while I was putting these together, would you like to see them? Or is that just terribly boring? I'm always curious to see how things go together, but maybe you would rather just see the final product. Let me know. 

Sunday
Dec282008

a few of my favorite things

... decorating cookies ... time with cousins ... christmas sweaters ... our town's holiday parade ... chocolate sea salt caramels from trader joe's ... the christmas program at church ... my mom's spode dishes ... still wearing my flip flops ... carols sung round the piano ... ham with dad's applesauce ... santa balls ... hugs from grandma ... homemade cheesecake ... reading the nativity story ... hot cocoa with mini marshmallows ... late-night wrapping ... Bee singing jingle bells ... stockings, finally finished ... scalloped potatoes ... gingerbread men ... C worried about santa ... two excited children running into our bedroom at six in the morning yelling "He came! He came!"

Note: That is not me playing the piano, but my sister-in-law who has been teaching my nephew. They are playing a very sweet duet. Of course I have already signed C up for classes when he gets a little older. More on the stockings a little later.

Monday
Dec222008

advent: part three

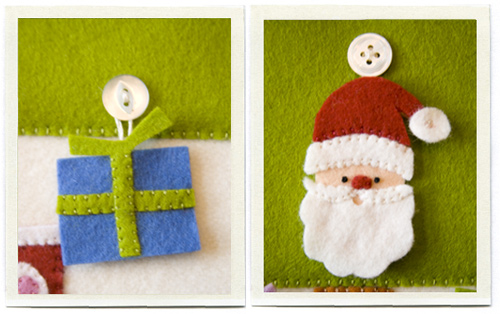
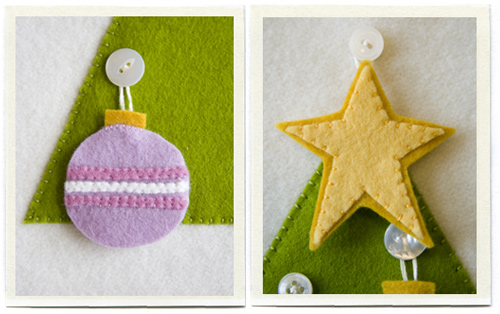
Are you tired of seeing this yet? I promise this will be the last advent related post, but I did want you to see what it looks like when finished. I have loved watching the kids carefully figure out where each ornament should go, and they are so excited to put the star on top. Here are the last of the ornaments:

Merry Christmas to all!

Sunday
Dec212008

fa la la #4

I love the idea of kids growing up on a farm (maybe even my own kids someday... there's still time!). Having to get up early and milk the cows, seeing the vegetables grow and ripen, the whole family having to pitch in together to make it all work.

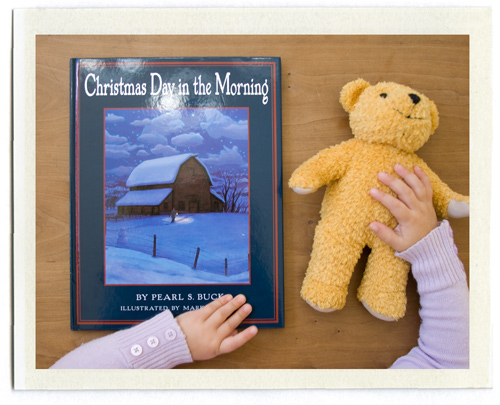
So that could be why I fell in love with this book, Christmas Day in the Morning by Pearl Buck (and oh so beautifully illustrated by Mark Buehner.) 

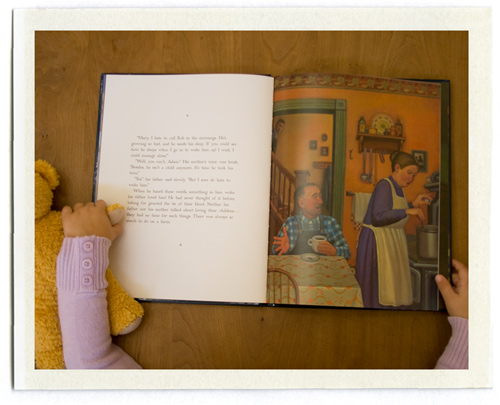
A teenage son overhears his parents talking, and realizes for the first time, that his father loves him. "Neither his father nor his mother talked about loving their children—they had no time for such things. There was always so much to do on a farm."

He wants to get his father a special gift for Christmas. He has little money, but he needs to show his father that he loves him... so he comes up with a plan. "He could get up early, earlier than four o'clock, and he could creep into the barn and get all the milking done. He'd do it alone.. and then when his father went in to start the milking, he'd see it all done. And he would know who had done it."

(I have high hopes that if I read this story to my children enough times, I will one day come downstairs Christmas morning to see the house spotless and all the laundry washed and folded.)

Friday
Dec192008

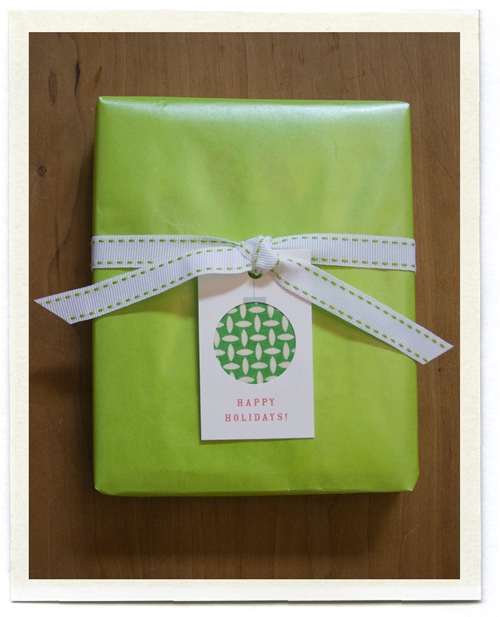
last-minute christmas tags

I know everyone is busy wrapping (or perhaps still finishing) a few gifts. I'm here to help! These gift tags are a great way to use leftover fabric scraps. First, download this template and print it on some white cardstock.

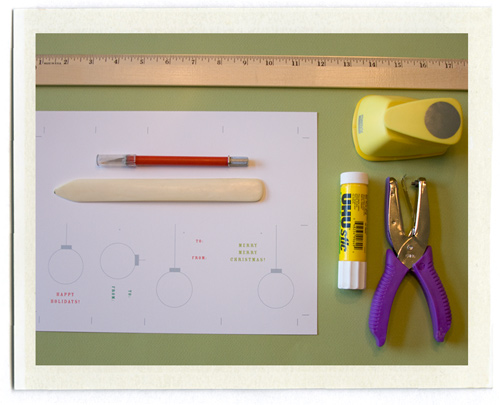
Here's what you need: your printed template, a ruler and an x-acto knife, a bone folder (in order to get nice crisp folds), a cutting mat, glue (spray adhesive or glue stick), 1.5” circle punch (or you can cut the circles with your x-acto knife.. be careful!), a few cute fabric swatches (cut to roughly 1.75” squares), and a hole punch.

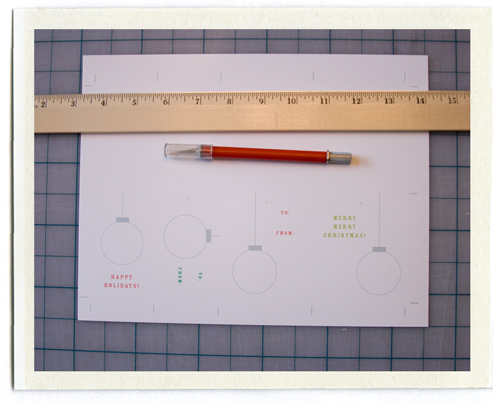
STEP 1: Cut out your tags (each template makes four tags) with a ruler and an x-acto knife, using the guides on the template. I cut the top and bottom horizontal lines first, and then the vertical lines.. do not cut through the paper top to bottom, you want to stop shy of the edge of the paper so you keep the border and your guide marks intact.

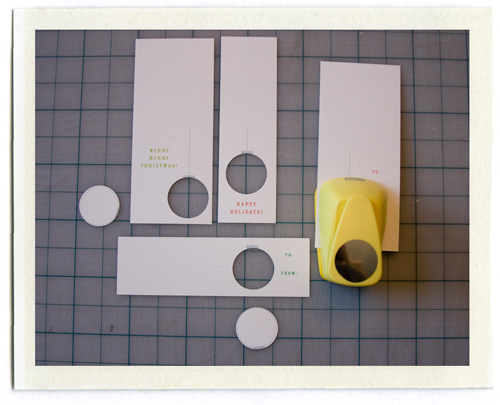
STEP 2: Take the four cards and punch out the 1.5” circle, as marked on the template (your circle punch will be slightly larger than the circle on the template). Line it up as closely as you can.

STEP 3: Apply glue to the entire wrong side (or back of the card) especially the edges. Pick your fabric swatch and affix it to the back of the card, wrong side up, making sure it covers the entire punched circle. (The right side of the fabric should be face down). 

Fold the card in half to sandwich the fabric, use a bone folder to get a nice tight fold (or your fingernail). Rub the card all over, making sure the glue is spread evenly over the entire card. Punch holes where indicated. Add string or ribbon and enjoy!

NOTE: Last summer I got to help plan a beautiful wedding for a dear friend that will be featured in Martha Stewart Weddings Winter issue (which comes out next week). We used this same technique for her escort cards, and they looked so beautiful all pinned to a board, I'll let you know when they are up on Martha's website.

Thursday
Dec182008

fa la la #3


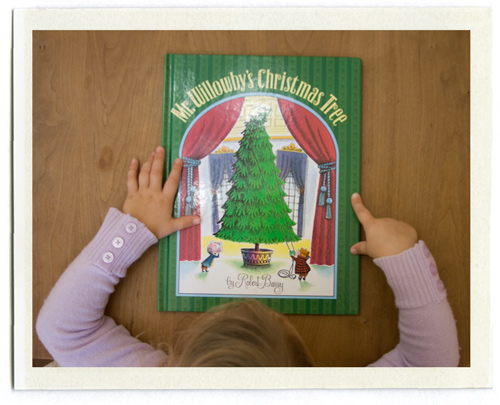
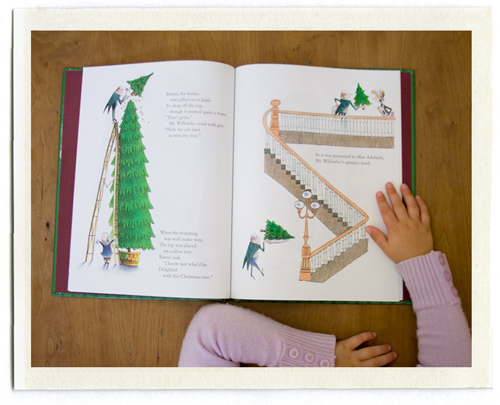
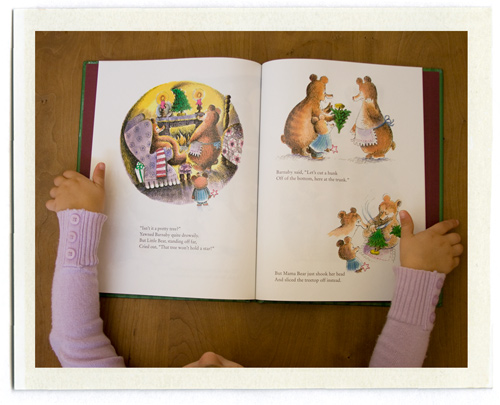
Mr. Willowby's Christmas Tree by Robert Barry tells the story of a big, grand tree delivered to Mr. Willowby, by special delivery. But the tree is just a bit too tall, so they trim off a few feet. The top is perfect for Miss Adelaide, the upstairs maid, but she also must trim the top of her tree.

The little tree is then passed on to the gardener, who trims a bit (snatched by the Bear family), and on and on to the Fox family, the Rabbits, and even to the little mice who live in Mr. Willowby's house.

"Oh isn't it grand to have a tree - exactly like Mr. Willowby!"

Thursday
Dec182008

packages tied up with string

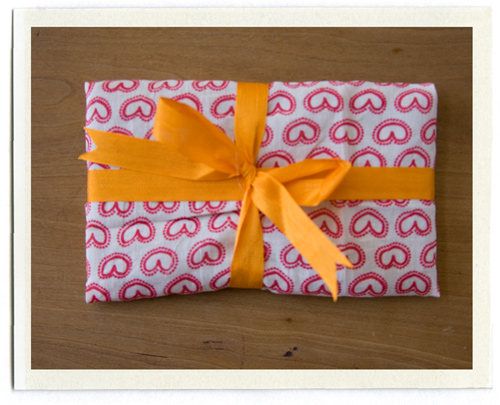
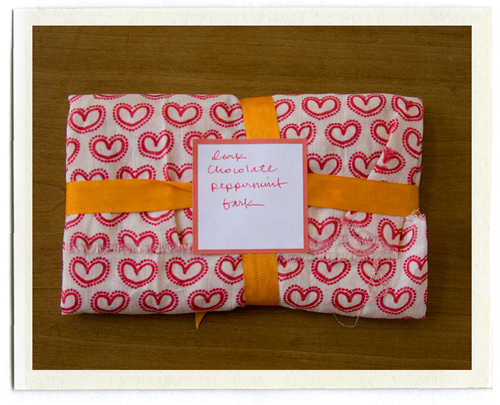
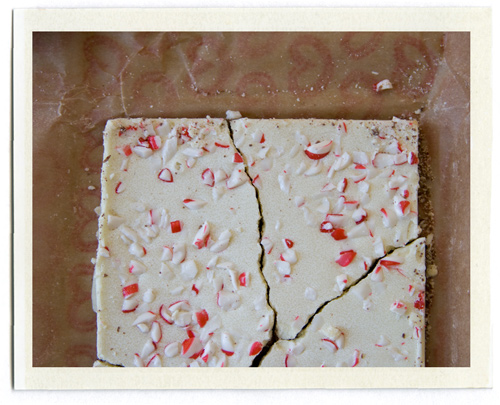
Oh Heather.. thank you, thank you.

It is so fun to open your mailbox and pull out a little package that you can see has been made with love and wrapped with such care. 

It's almost too pretty to eat.. but that hasn't stopped me!

Wednesday
Dec172008

fa la la #2

I sometimes have a hard time knowing if a book is truly great.. or if I just remember loving it as a little girl, and so it has become wonderful only to me. The Night Before Christmas (illustrated by Gyo Fujikawa) is one of those books I can recall vividly from my childhood... page by page. 

Whenever I hear Clement Moore's poem, it is always these images I see in my head. I love everything about it. The title page with the wooden stick letters and the cutaway view of the house as everyone gets ready for bed.

And the amazing sugarplum dreams of the sleeping children.. (which I especially loved because we had six children in our family.. three boys, three girls)

And I love the little jolly Santa, a bit on the petite side. Oh, I adore this book.. but my son has had a few questions: "Where's Rudolph, mom?" "And are these the mean reindeer that were calling him names?"

Tuesday
Dec162008

fa la la #1

Each year I try to pick up a few additions to our Christmas library, special books that are tucked away in the Christmas box with the ornaments and the lights and only read in December. This week I'll be sharing some of our favorites.

I have a soft spot for The Nutcracker. I remember seeing it with my mother as a child, how I dreamed of taking ballet class and dancing as one of the little mice. I've seen it in San Francisco, I've seen it in New York City. And I love it, each and every time.

There are several book versions of the Nutcracker story, but I love this one by Susan Jeffers, because it stays true to the story as you see it unfold in the ballet.

And did I mention the illustrations are magical? Perfect with a mug of hot cocoa.