I'm so glad you like the stockings. Here are some steps on how to make them yourself. Remember that I am fairly new to sewing, so please be kind if I make a mistake here or there.. I am still learning as I go!
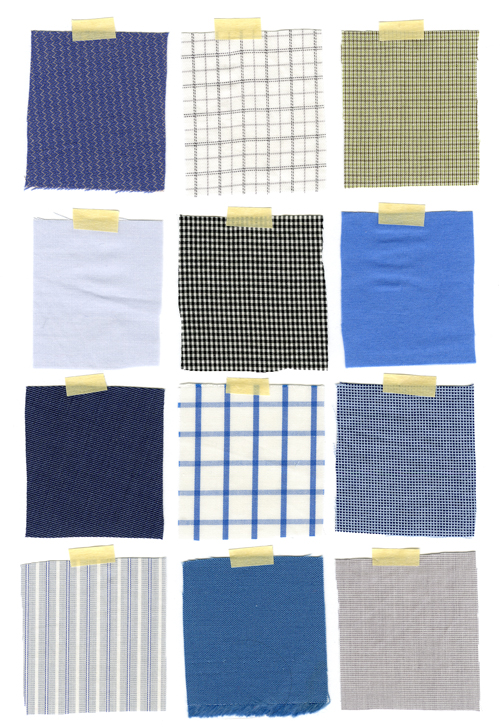
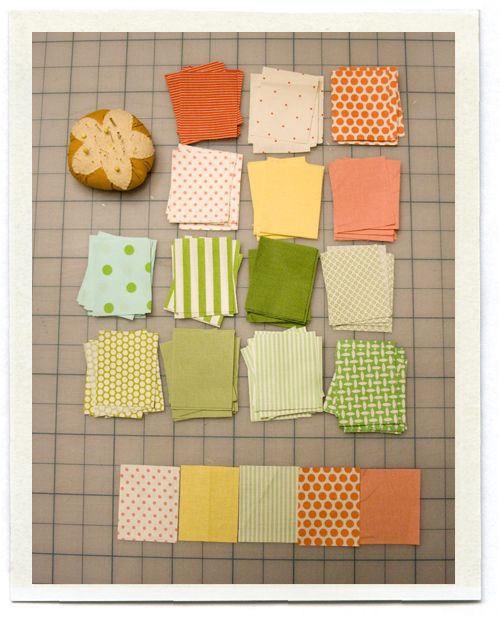
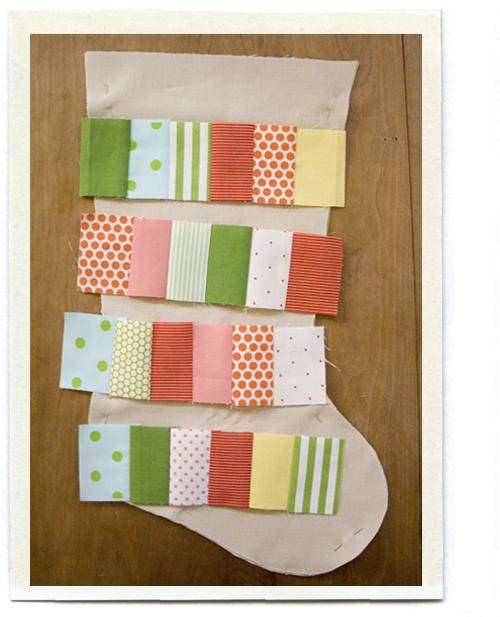
Step 1: Assemble a grouping of fabrics you think work together. Mix some fabrics that are a little busy (like the orange dots) with some on the quieter side (like the tiny red and white stripe). Cut them all down to the same size rectangle (mine are 2.5" tall by 2" wide). Start laying them out in a row, to see what looks nice next to each other (see bottom of the photo). The patchwork strip for each stocking is 6 blocks wide, so here's where you play around and figure out what looks best. You can choose to do the patchwork strip on the front and the back of the stocking (like me) or just on the front.
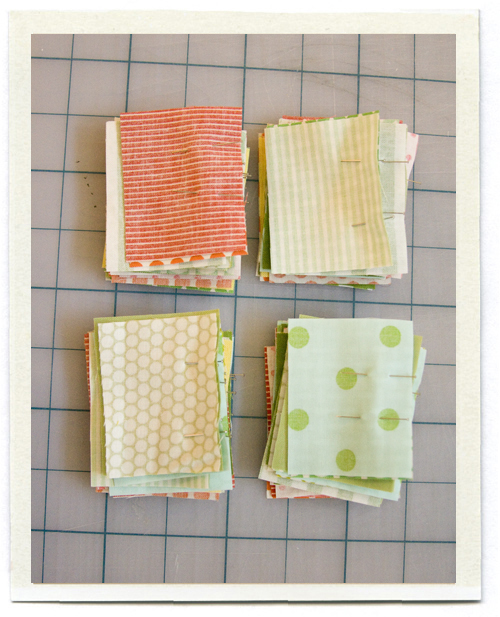
Step 2: Pin your blocks together for chain piecing. Starting at the beginning of each patchwork row, take two blocks and pin them together along the long side, right sides facing. I made a stack for each of my stockings. Try to keep your pairs in order.
Step 3: Now for chain piecing. Sew all your pairs together (check to make sure right sides are facing!) with a 1/4" seam. Just feed them in right after one another, leaving a few stitches between each one. (This is the best thing I learned from my quilting class at Purl Patchwork, thank you Joelle!)
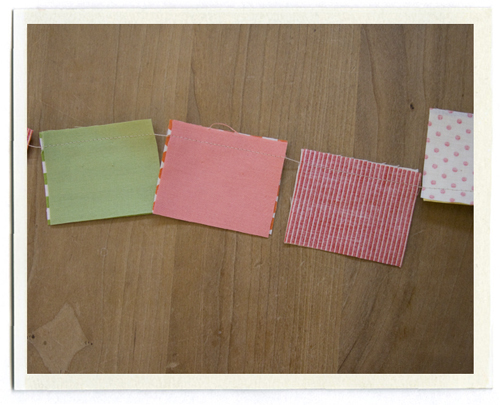
Step 4: Clip the threads off between your sewn pairs, and iron the seam allowances to the right or left (I iron mine to the darker side, so they won't show through). Lay out your pairs in order to make the patchwork strip, and make sure you like the order. This is your last chance to move things around.
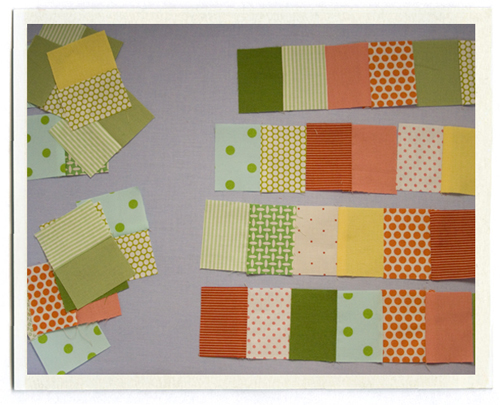
Step 5: Chain piece again, this time you're connecting the pairs you already chain pieced.. so these will be 4 blocks wide. I made a mistake at this point, chain piecing all of my pairs together. So when I sewed mine, they were all 8 blocks wide, and you only need them 6 blocks wide. If I were you, I would sew the first two pairs from a patchwork strip together (giving you 4 blocks wide) and then sew one more pair to the end, so it is 6 blocks wide. Repeat with the remaining rows.

Step 6: Arrange your strips for each stocking. Decide which strip will go on the front of the stocking, and which will go on the back. Look at the front strips all together and make sure they all look a little different.
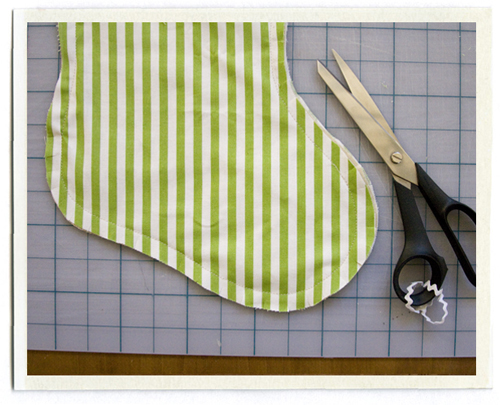
Step 7: Cut two pieces for the outside of each stocking (I just traced a stocking I had for the basic shape, adding a 1/2" seam allowance). I originally wanted to make these out of linen, but thought it looked a little gray next to my fabric, so I chose a linen cotton blend in a creamy tan color. You'll need to cut a strip out of your stocking to add the patchwork strip. Mine are 2.5" high, so you need to remove a 2" high strip (leaving you a 1/4" seam for the top and the bottom). In the photo below, the top strip will become the top of the stocking, and I'm going to cut where the top of the ruler is and remove that 2" strip. Rotary cutters are great for this.
Step 8: Pin your patchwork strip in place, lining the bottom of your strip up with the cut edge of your stocking, right sides facing. I like to pin at each block's seam so you can make sure the seam allowances lay nice and flat as they go through the machine (just like Joelle taught me). Stitch with a 1/4" seam. Repeat on the top of the patchwork strip, attaching it to the top cut portion of your stocking.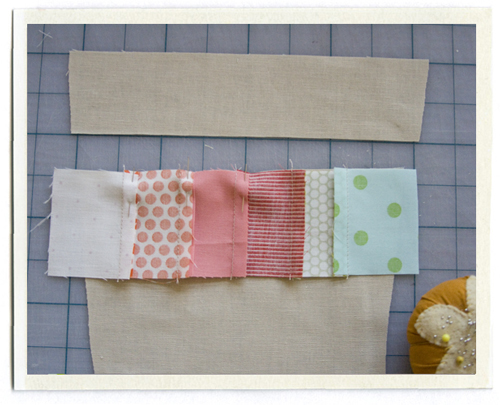
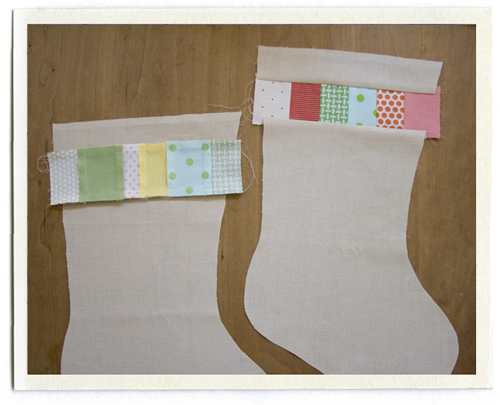
Step 9: Press your seam allowances to the tan stocking side to reduce bulk, and iron around your patchwork strip, pulling on your fabric just a bit so all your creases are nice and crisp. In the photo below, the stocking on the right shows what the front or right side should look like, the one on the left shows the wrong or back side. Use your rotary cutter to trim off the excess bits at the right and left edge of your patchwork strips. You want the edge of your stocking to be one nice line so it will align with your lining.
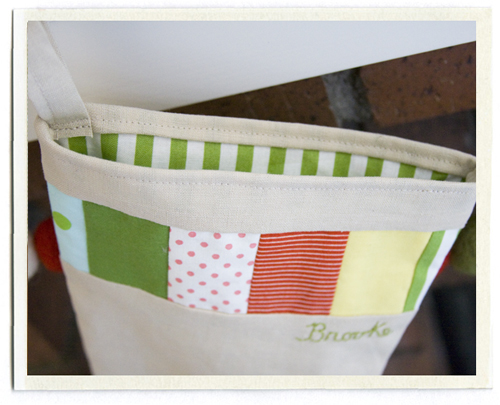
Step 10: Now is the time to embroider your name under the patchwork strip on the front side of your stocking. Make sure you stop at least an inch before the edge to leave enough room for your 1/2" seam when you sew the stockings together. (I used two strands of standard embroidery floss, and I just make the letters up as I go..)
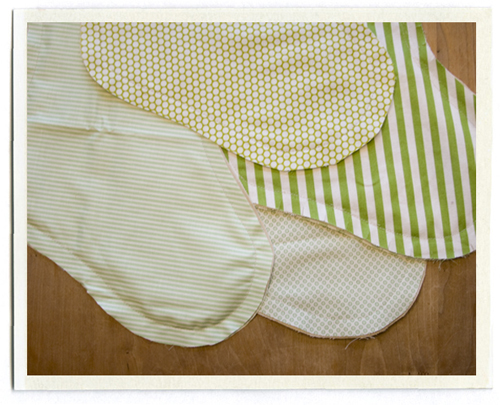
Step 11: I chose to line my four stockings with four different green fabrics. So when you cut out your front and back outer stocking pieces, cut a front and a back from your lining fabric as well. Grab your front and back stocking pieces and take a look at how they are matching up with the front and back lining pieces. Are they a little bit off? No big deal, just trim the edges with a rotary cutter so you can make them match.
When you get ready to stitch the stocking and lining together, lay your pieces in this order (pay attention because I did this wrong the first time) starting from the bottom: 1. lining front wrong side up, 2. stocking front right side up, 3. stocking back wrong side up, 4. lining back right side up. Starting at the top opening of the stocking, sew along the edge with a 1/2" seam (as you can see in the photo below). Leave the top end of your stocking open (you don't want to sew the whole thing shut!).
Step 12: Finish your seams as you like (mine just got pinked), but remember to clip around your curves a bit so you can turn things out easier. Turn your stocking out, so the lining is on the inside and the stocking fabric is on the outside, focusing on the shape of the toe and boot area (it helps to put your hand in the stocking and carefully push the seams out until you have a nice curved shape). Iron, iron, iron.
Step 13: Finish the top edge and add a loop. Make a little loop from some scrap fabric. (I used a piece about 2" wide and 4" long. Crease it lengthwise, fold the long sides in to meet the middle and fold lengthwise along the middle crease. Stitch along the long edge.) To finish the top edge of the stocking, fold it over 1/4" (it helps me to iron as I go to help "hold" the fold) and then fold again another 1/4". Iron so you have a nice tight fold and pin along the entire edge. Pin your loop in place so you can sew it in as you go around (I positioned mine in the back, a bit off the stockings side seam, to reduce bulk). Sew along the edge as carefully as you can, since this one really shows. Take your time when you get to the bulky parts and remember to backstitch at the start and end of your row. I went over my loop a few times, just to make sure it was secure.
Hang from your mantle and wait for Santa! Good luck!

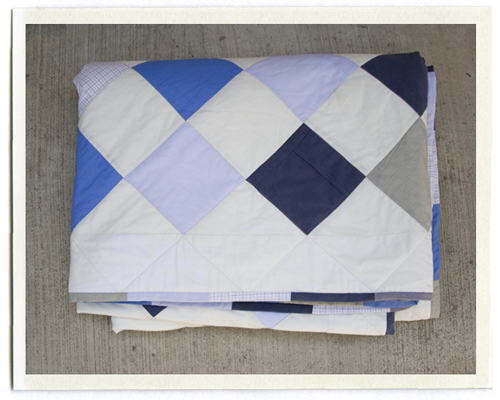
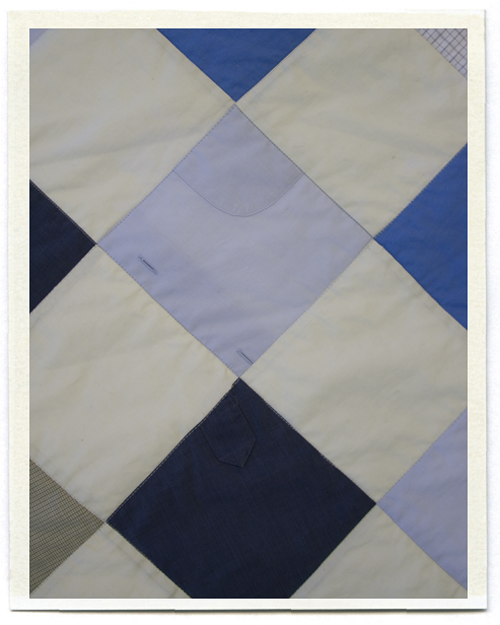
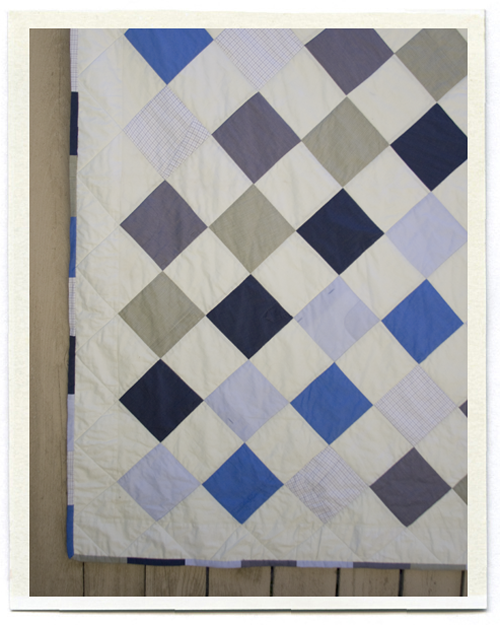
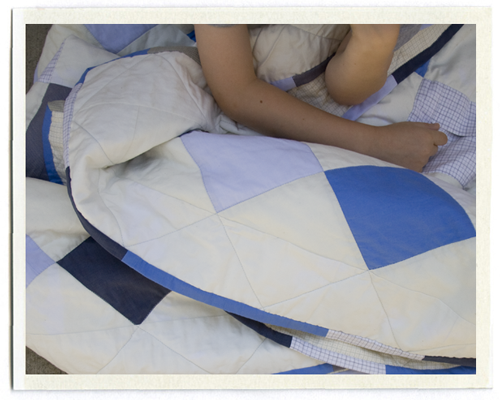
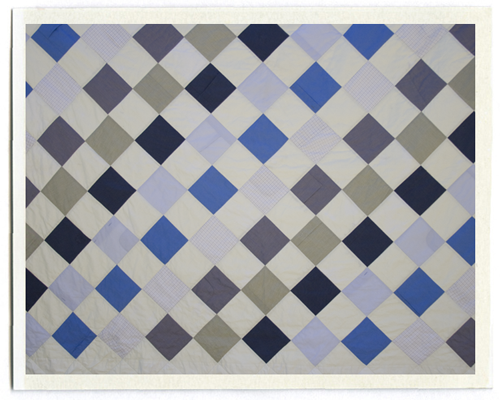
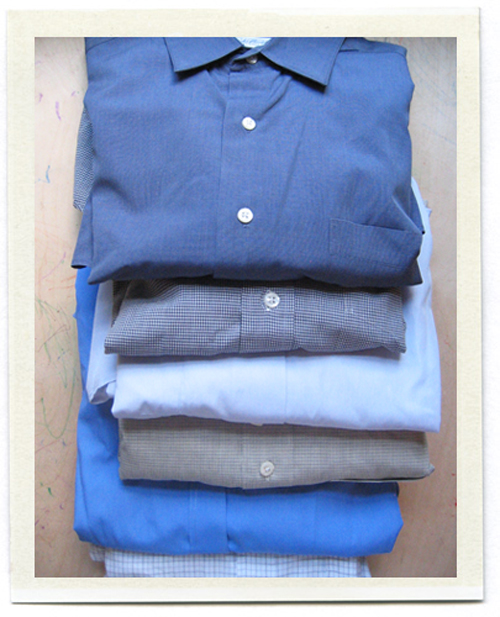
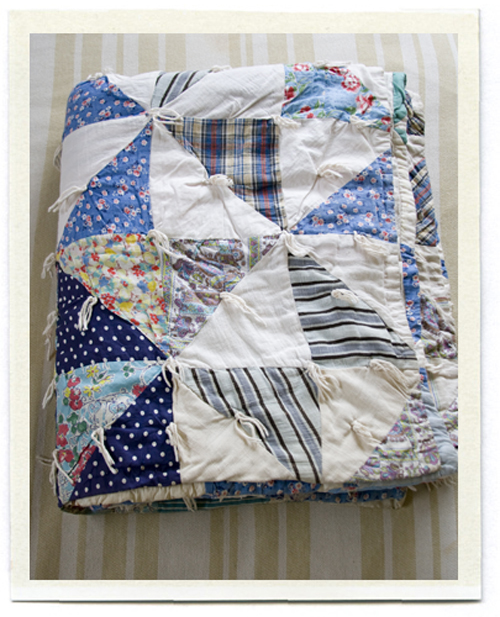
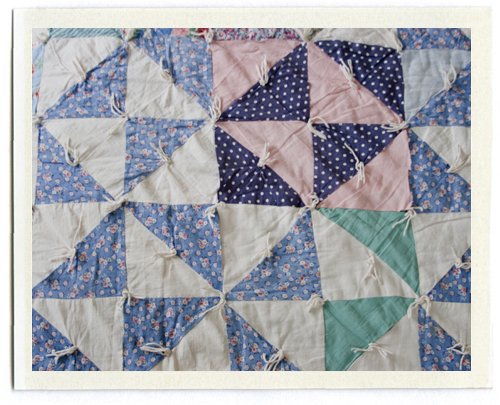
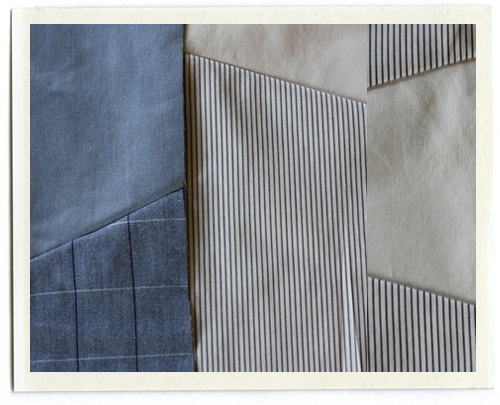 The shirts were cut on angles, and mixed and match to form a modern patchwork.
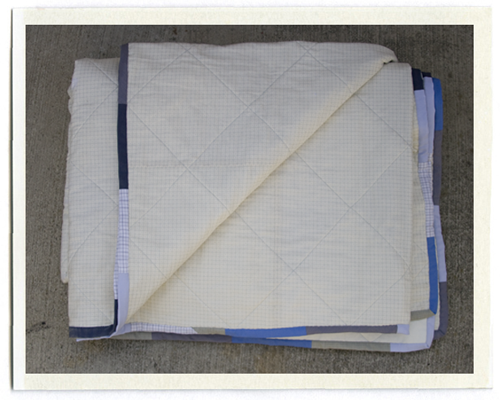
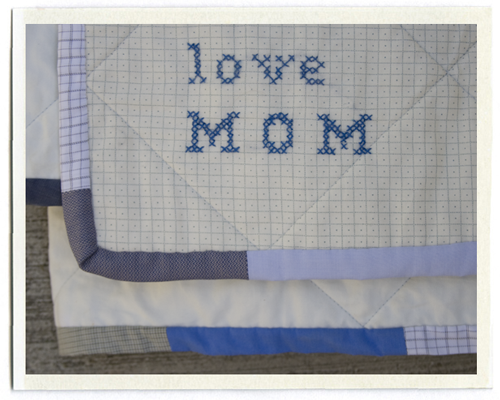
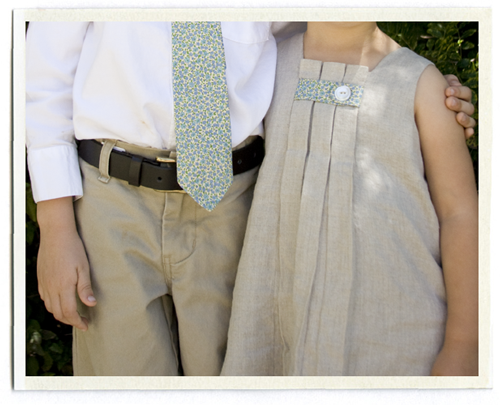
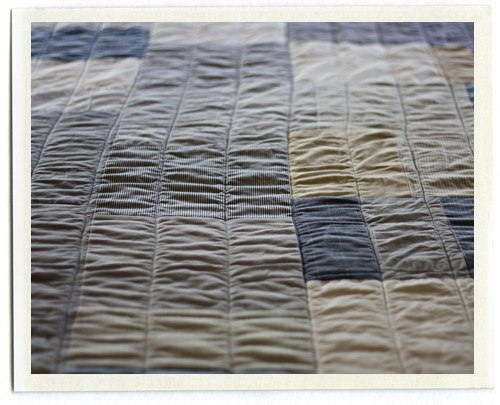
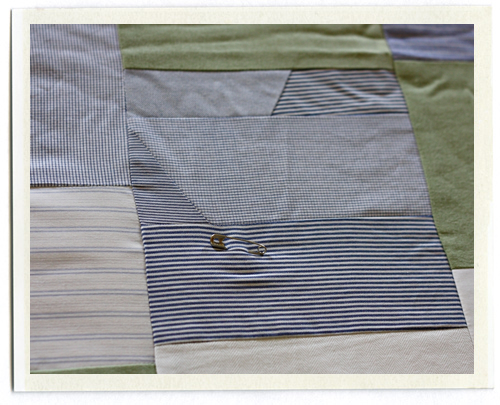 Then the pieces were sewn into strips and quilted with a simple grid. The binding was a striped fabric sewn on the bias, so it resembles a neck-tie.
 9 Comments