Entries by Brooke (278)

Monday
May112009

the juggling act

I hopped on a plane on Thursday to fly to a little town in Northern California to art direct a really lovely wedding. (It was beautiful all on it's own, I can take no credit. My job was just to make sure we documented it's loveliness as well as we could.)

Every once in a while I get to run off and do a photo shoot, thanks to JR who will step in and take a day off work when needed so I can run and play "art director" once again. Photo shoots on location sound glamorous and exciting, but they are long hard days. We were up at 6 AM shooting clovers in the morning light, and still working at 8 PM trying to capture the last few minutes of daylight after the sun dropped behind the hills. Then we would race off to make it into town (a 40 minute drive away.. longer than that if you have to wait for the cows to move off the dirt road) before the only sit down restaurant closed their kitchen at 9.

Most of you know I stopped working full time at my job when I had my son C, almost 5 years ago. Now I work freelance for a few of my favorite clients, usually late at night when the kids are asleep, squeezing in a book design project when I can. It's a juggling act, trying to balance the work and being home with my family. I have tipped the scale to the "work" side, and found that I am a very cranky mother if I am staying up late each night working and always sweating a deadline. I have then tipped the scale to the "family" side and found that (after a few months of carefree bliss) I feel a little lost when I am not working on any projects. I need to be gathering inspiration, playing with color swatches, working and reworking a design until it is finally just right. I don't feel quite like myself when I'm not designing something.

So I try to balance my scale somewhere in the middle. There are times when I feel I am doing poorly at everything.. that I don't have enough hours in the day to be a good mom and a good designer and a good wife. But I think I'm getting better at the balancing act.

I flew back home Saturday night, as the wedding was in full swing, so I could be back in time for Mother's day. (Homemade cards and JR making dinner? How could I miss that?) As I walked out of the airport and saw my little ones through the car window, I was happy to be home. My children are never as cute as when I have been away from them for a few days. I am always so happy to see their little smiling faces.

On the ride home I filled JR in about how the shoot had gone: the long days, the many shots, how tired I was. He looked over and said "And you loved every minute of it, right?". I smiled. He knows me too well.

Image from one of our favorite alphabet books, Bruno Munari's ABC.

Wednesday
May062009
fortune cookie favors

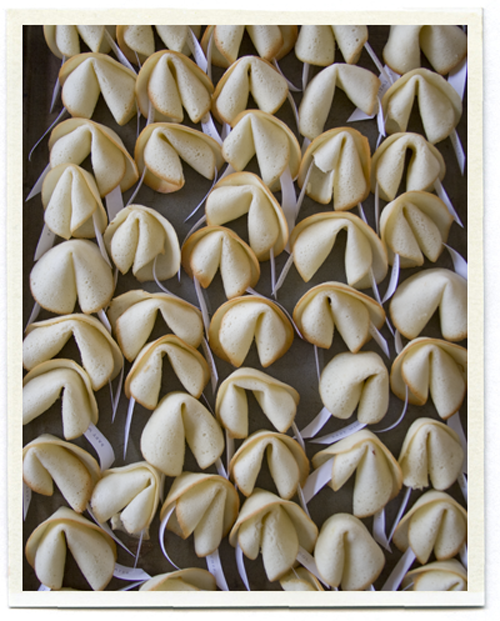
I needed a favor for my friend Emily's baby shower recently, and decided to make some personalized fortune cookies. I'm not a fan of the crunchy stale fortune cookies you usually get after a meal in a chinese restaurant, but these homemade fortune cookies not only look cute, they actually taste pretty delicious!

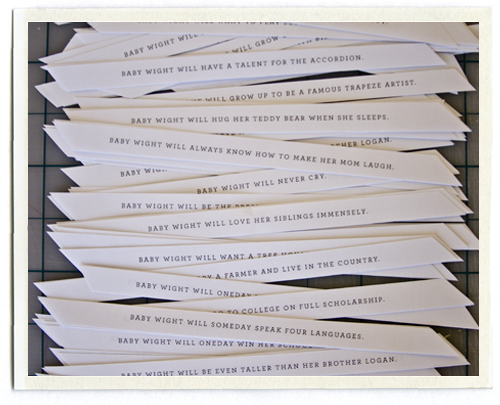
I came up with as many fortunes as I could for this new baby girl, things like "Baby Wight will never cry" or "Baby Wight will grow up to be a famous trapeze artist" or my favorite, "Baby Wight will be a boy! Surprise!". The fortunes were printed and cut into strips, mine are about 1/2" high and 7" or so wide.

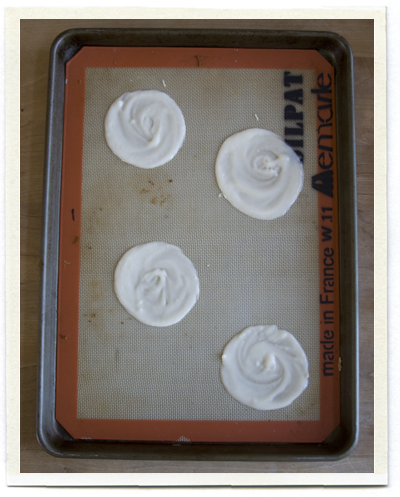
The recipe I used is a traditional tuile batter, which you drop by spoonful onto a Silpat. Then using the back of your spoon, you push the batter into a 4" circle, keeping it as thin and even as you can. The cookies bake quickly, you want to watch them carefully and pull them out when the edges are just barely golden.

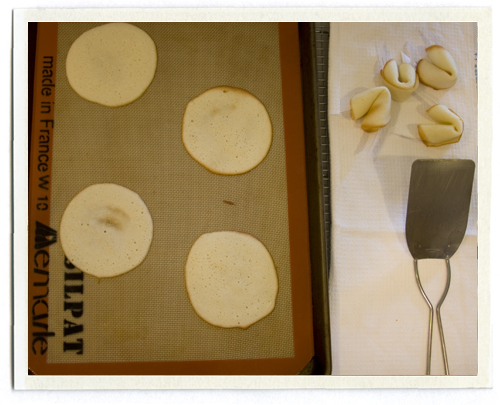
Once the cookies come out of the oven, you need to work quickly to add the paper fortunes and form the cookies. If the cookies cool, they will harden and be too brittle to twist and shape. Small batches work best, I started doing 4 at a time, and got up to 6 (but you've really got to work fast to get all 6 twisted and folded before they are too brittle).

It takes a few batches to get all this figured out. Just a few extra seconds in the oven can change the color of your cookie pretty quickly. The cookie at top was pulled out a bit early, the middle cookie is just right, and the bottom cookie stayed in the oven a little too long.

I packaged the cookies in little white takeout boxes, filled with some pink and white dotted glassine, and I packed a few larger boxes with some extra cookies for Emily and her family.. full of wishes and good fortunes for their new little baby.

Welcome little one.

Monday
May042009
dress shirt quilts #5

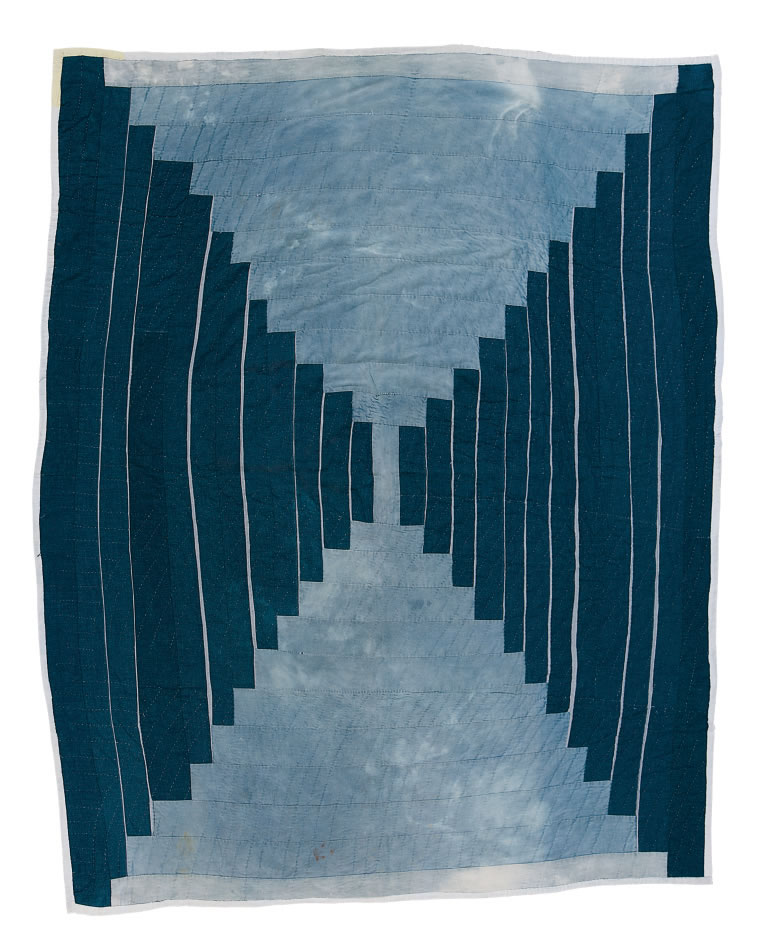
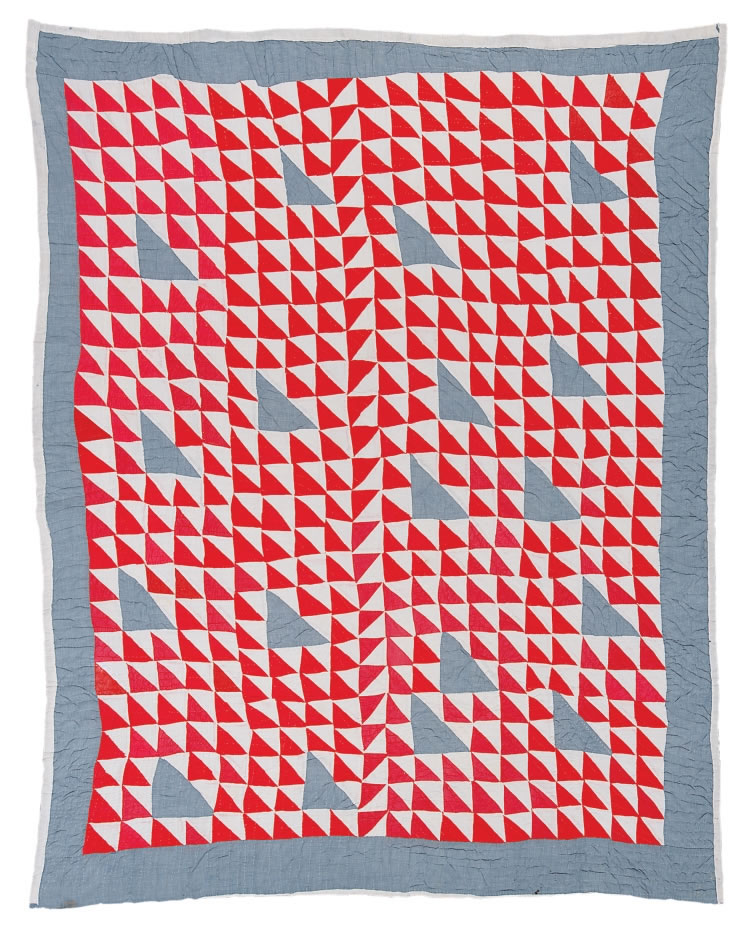
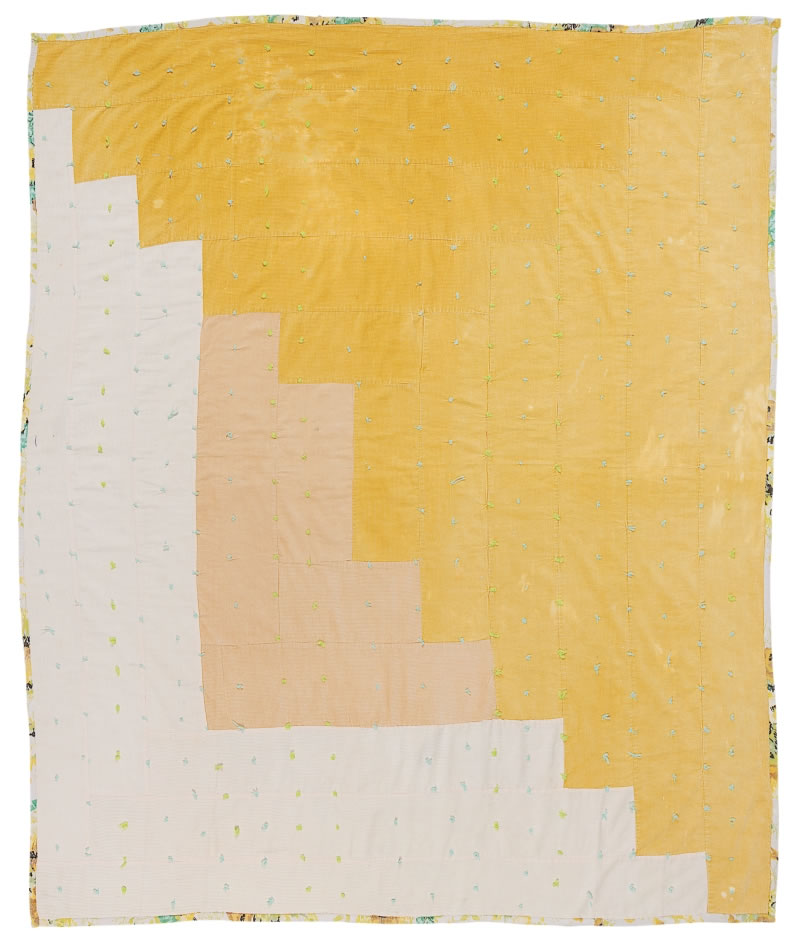
I know that pretty much everyone is familiar with the quilts of Gee's Bend, but while we're talking about making quilts out of recycled clothing, it just seems wrong not to mention these ladies and their amazing work. There is a lovely collection online here).

by Loretta Pettway, born in 1942.

By Linda Pettway, born in 1929.

By Annie Bendolph, 1900-1981.

Also by Linda Pettway, born in 1929.

And this beauty by Missouri Pettway, 1902-1981. Missouri's daughter explains.. "It was when Daddy died. I was about seventeen, eighteen. He stayed sick about eight months and passed on. Mama say, 'I going to take his work clothes, shape them into a quilt to remember him, and cover up under it for love.' She take his old pants legs and shirttails, take all the clothes he had, just enough to make that quilt, and I helped her tore them up." (quotation from here)

I'm in awe of these quilts. I love that quote... "Cover up under it for love." I might have to sew that into my next creation. Isn't that what making a quilt is all about?

Saturday
May022009
dress shirt quilts #4

I steumbled onto the site for Ocheltree Design and fell in love with this quilt by Richard Killeaney. Made from recycled shirts and organic sateen.

I can't tell you how much I love it. This one shown below is beautiful as well..

Saturday
May022009
dress shirt quilts #3

This quilt is one I saw in an exhibit while we were at Quilt Market last fall in Houston. It is called "Furrowed Fields" by Rosemary Cromer. The sign explained that the quilt "brings to mind a patchwork of rows of tassled corn, wheat fields.. and silo heads heavy with grain. ...It seems appropriate that the materials for this piece are the shirts worn by men who may have worked these lands."

Saturday
May022009

dress shirt quilts #2

This quilt was sent to me by Sally Carlson, and I was touched by the story behind it. It was made for two little girls, whose father had recently passed away. They had seven shirts to work with, and they tried to use every scrap of them in one way or another. The quilt pattern is "Yellow Brick Road" from Atkinson Designs. A little decorative stitching was added on a few blocks to make the quilt a bit more girly.

The back of the quilts is beautiful as well. Each girl was given a quilt and a pillow (made from a collar and the leftover scraps of the shirts). Can you think of a better reason to make a quilt? What a treasure for those little girls.

Saturday
May022009

dress shirt quilts #1

I promised to share some of the beautiful quilts I found while researching other quilts made from old men's dress shirts. So much loveliness out there.

This first quilt was found over at My Spinning Wheels, a new blog find full of beautiful things. This quilt was made by Jill's mom from her dad's worn dress shirts. She is making one for each of her children.

The shirts were cut on angles, and mixed and match to form a modern patchwork.

Then the pieces were sewn into strips and quilted with a simple grid. The binding was a striped fabric sewn on the bias, so it resembles a neck-tie.

Wednesday
Apr292009

a quilt for my sweet boy

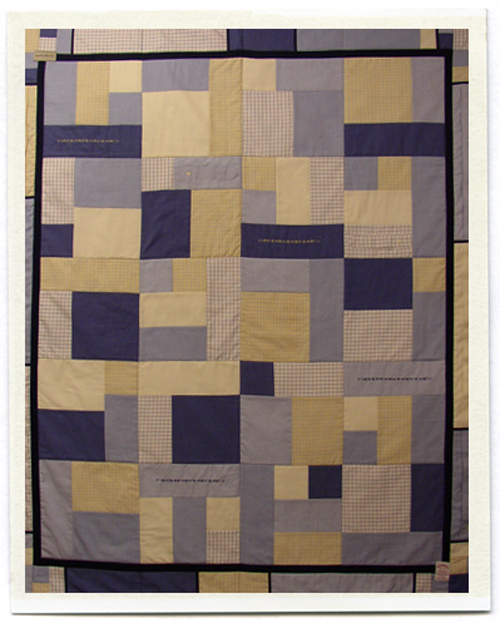
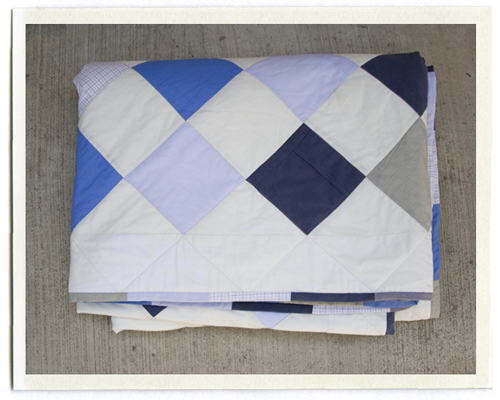
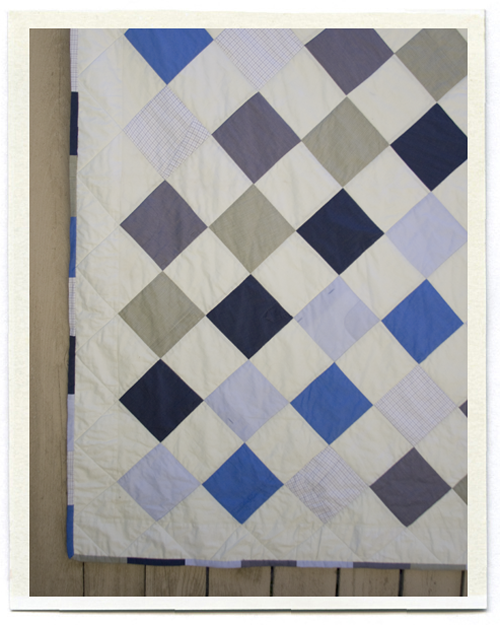
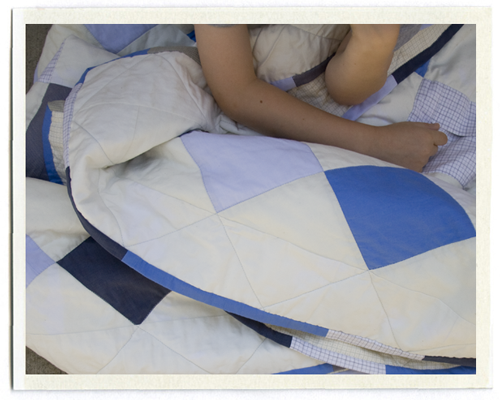
Remember this color palette? Finally, the quilt is actually done. And my boy couldn't be happier. This is the first quilt I've actually finished since I took Joelle's patchwork quilting class almost three years ago.. it sat for over a year all pieced and ready to be quilted, and then once quilted, sat for a few months patiently waiting to be bound. And of course, now that it's done, I have a million ideas for the next one.

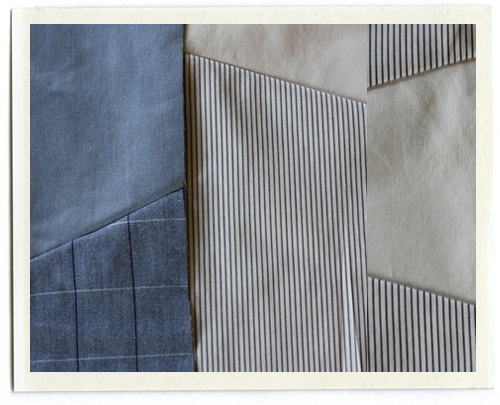
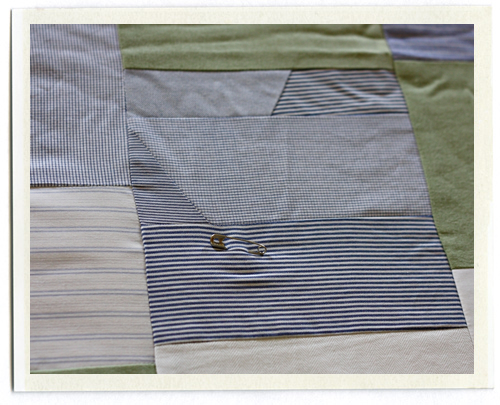
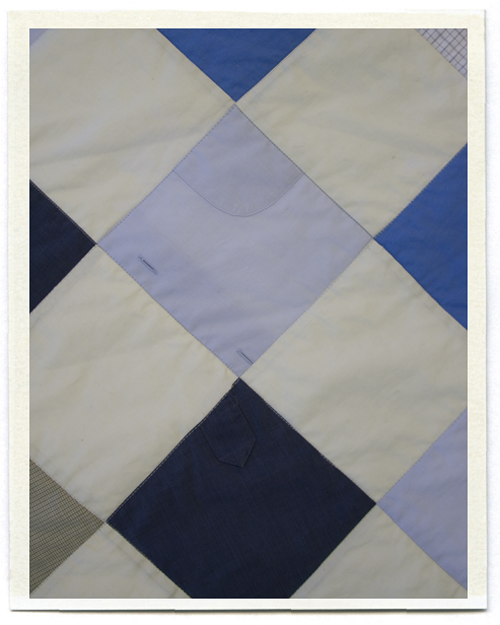
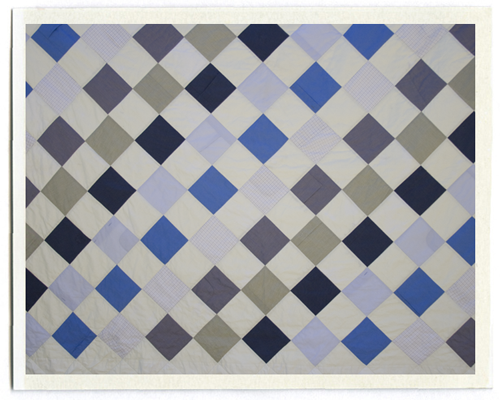
For those of you who are new, this quilt was made from a pile of old dress shirts my husband was throwing away. I love the idea of my son sleeping under a quilt made from his father's shirts.. I tried to incorporate as many little details as I could, a pocket here, a placket there.

I sewed most of this quilt while visiting my mom. When I lived back East, I would try to fly home each summer for a few weeks to visit my parents in California. This quilt came with me on a few of those trips. My mom has a beautiful Pfaff that sews like a dream, and switching back to my machine sometimes felt like switching from a Mercedes to a Pinto. (For my birthday last year, I finally got a Pfaff of my own.. not quite as nice as my mom's but it's so lovely to sew on..)

I made a little sketch of my quilt in Illustrator before I cut up the fabrics, so I could see it a few different ways. I decided to just keep the design very simple, in hopes that it would have a classic feel and that my son might keep it on his bed for some time.

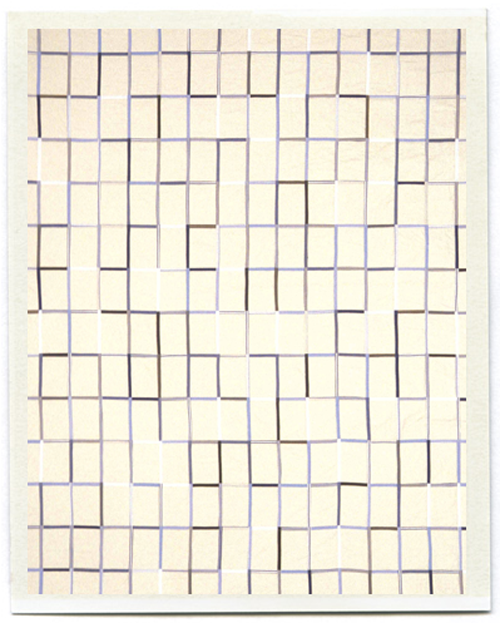
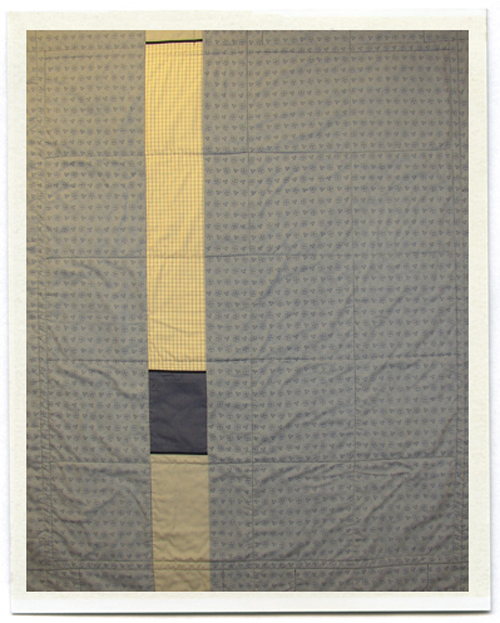
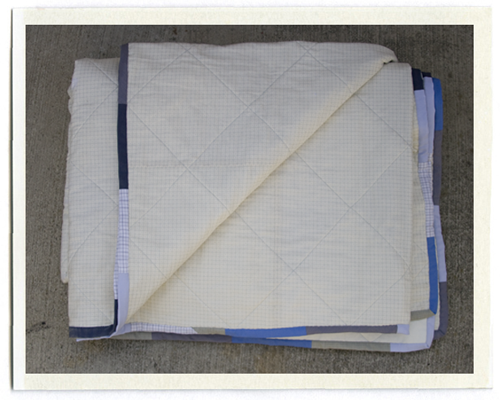
For the backing, I wanted something with a very subtle pattern. I found a Japanese grid fabric at Purlsoho that was perfect. (thanks for your help Jen!)

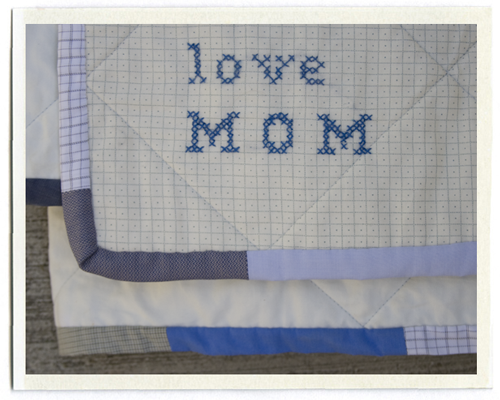
When it came time for the binding, I didn't know what to do. I had originally bought a solid blue fabric, but it seemed so plain. In the end I decided to sew together some of the extra squares I had leftover from the shirts and piece the binding. I'm so glad I did. I think it makes the back look almost as pretty as the front.

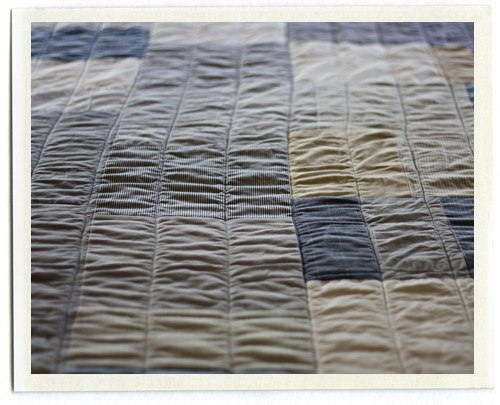
I did a very simple "stitch in the ditch" quilting. For some reason, I'm just scared to death to throw it in the washing machine, so it has yet to be washed. I think the squares will have a little more poof once they've been washed and dried.

I wanted to leave a message to C somewhere so I finished it off with a little cross stitch... "to C, love MOM". Using a grid for the backing certainly came in handy.

After finishing my quilt I started researching other quilts made from men's dress shirts... turns out it's not such a new idea. I came across so many beautiful examples, I will be sharing them with you over the next few days. They make my simple little quilt look quite elementary... but my son loves it, and that makes me so very happy.

Sunday
Apr262009

this weeks library book

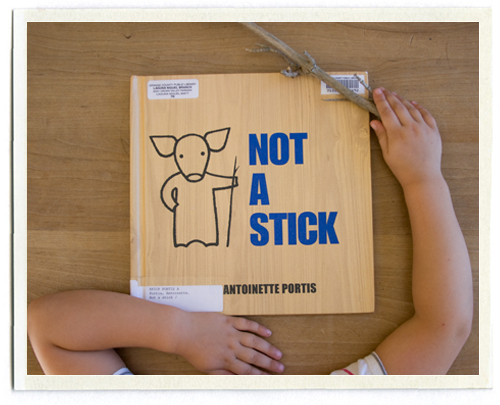
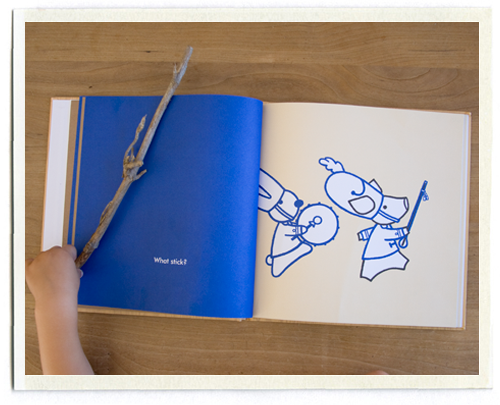
We love Not a Box, the first book in this series by Antoinette Portis. We own it. We read it all the time. So Bee and C were excited to see another book by Ms. Portis, Not a Stick.

Not a Stick is about a little pig playing with a stick. Each spread shows this pig using his stick in a different way. "Look where you're going with that stick."

"What stick?" answers the little pig. Holding his stick in one hand, he imagines he is the leader of a marching band.

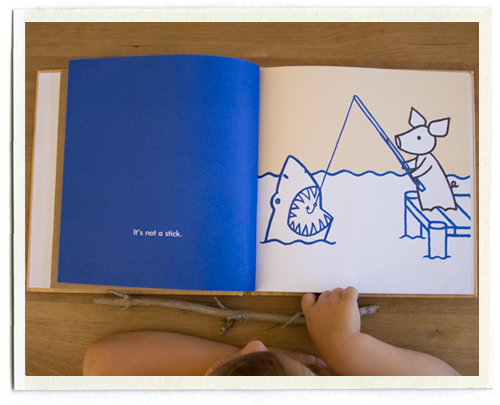
Or he imagines he is fishing off a pier, using his stick as a fishing pole. Other spreads show the little pig as a weightlifter, or fighting a fire breathing dragon.

Such a simple idea turned into such a beautiful little book. I love any book that encourages a child's imagination, and what child doesn't like to play with a stick? Or an empty box?

Tuesday
Apr212009

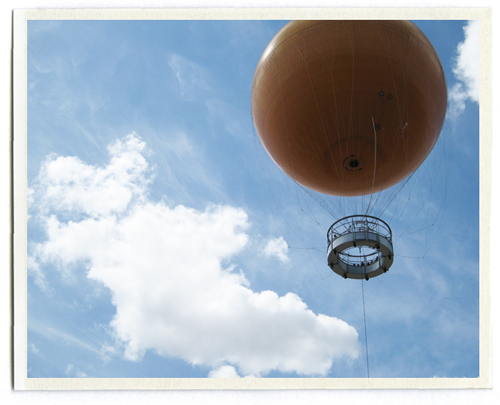
the magic balloon

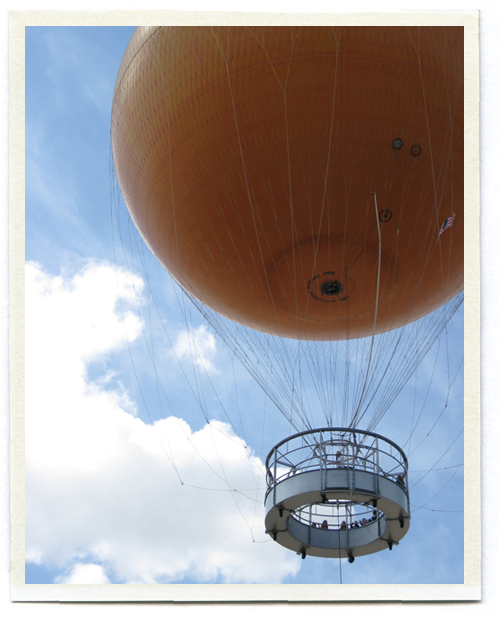
While everyone was out for spring break, some friends and I took a field trip up to what I call the "Magic Balloon". Built on the old El Toro marine air field, the Great Park will someday "include a 2.5 mile canyon and lake, miles of walking and biking trails, a cultural terrace, Orange County's largest sports park, and a botanical garden." But for now, they've got a big orange balloon. And you can ride it.. free of charge.

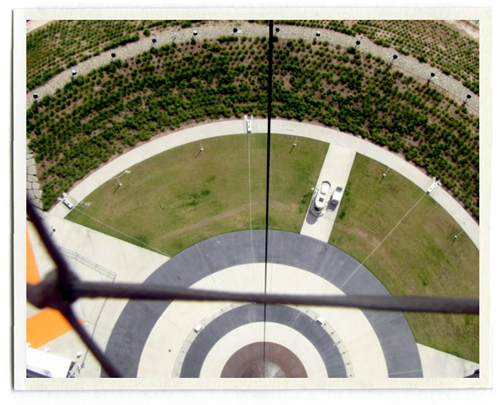
The balloon goes up to 400 feet, any higher and it would cause some problems for the nearby John Wayne airport. 400 feet doesn't sound that high, but when you look down and see that the only thing holding you to the ground is a tiny cable, it sure seems high.

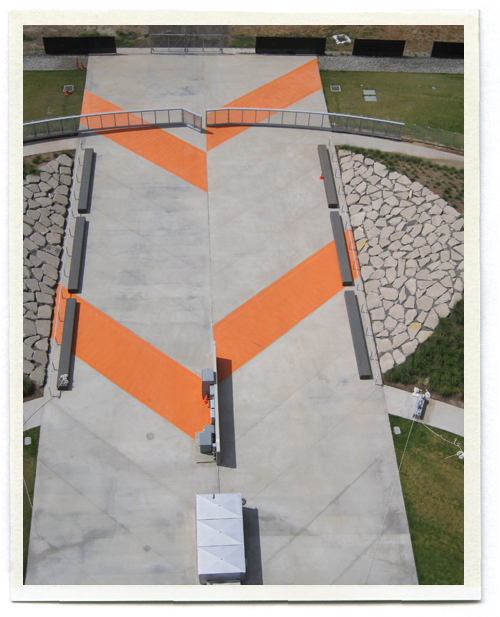
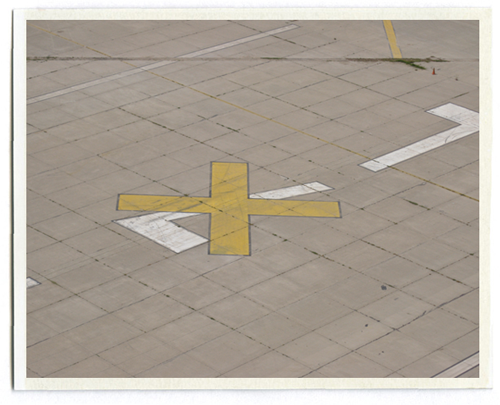
I'm not sure who the designer is behind the Great Park, but they've done a wonderful job. Everything has been so cleary considered, from the graphic design to the landscape architecture to the little details like these huge offset arrows on the landing strip. Orange and white have never looked better.

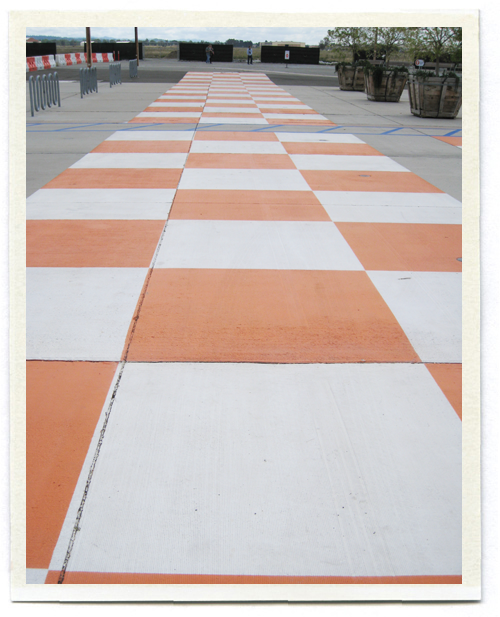
I love these patches of orange and white checkerboards in the parking lot.

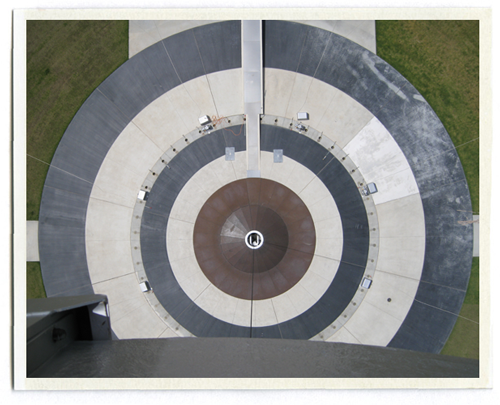
And they've kept some of the old markings from the old Marine air station runways. Viewed from the balloon, they are big and bold and just beautiful. I love the huge graphic circles they designed around the landing site.

The kids thought it was great. Bee was literally jumping up and down most of the time we were up. C was a little concerned, but warmed up once we started playing a little game of "I SPY".. I spy a little blue car.. I spy a patch of red flowers, etc.

We recently read James and the Giant Peach and while we were up in the balloon, being blown around by the wind, I thought of James and his crew teathered to a flock of seagulls flying around in a giant peach. Not such a bad way to travel.